This is not a soft toy. It is a crocheted shell over a cardboard box — a cube made of six flat panels, each one backed with a piece of cardboard cut to size, joined at the edges so the shape stays sharp. The arms hang off the small side panels, the neck is a wired tube bent to sit the head forward, and the whole thing rolls on three wheels of felt and cardboard.
That is why it works. Amigurumi is normally stuffed and rounded, and a robot made that way sags. Here the panels are worked flat in single crochet, the cardboard goes behind them, and the cube keeps its corners. The crochet supplies the texture; the cardboard supplies the geometry.
Every piece is written out below, in the order the pattern gives: panels, arms, fingers, neck, eyes, wheels and details.
What you need
- Yarn: cotton, 3 mm, in grey, dark grey and mustard, plus a small amount of red
- Hook: 2.5 mm
- Structure: cardboard, a piece of wire, fibre fill
- Face: black, red, grey and white felt; fabric adhesive
- Notions: needle, scissors, tape measure
Work tightly and in spirals, and mark the first stitch of every round. Make all the pieces first, then assemble.
Abbreviations
MR magic ring, sc single crochet, sl st slip stitch, dec decrease, inc increase, BLO back loops only, ch chain.
The panels
Large panel (make 4)
- R1: ch 18, start in the 2nd chain from the hook, 17 sc, ch 1, turn, start in the 2nd stitch (17)
- R2–13: 17 sc, ch 1, turn, start in the 2nd stitch — 12 rows
- R14: 17 sc, fasten off (17)
Small panel (make 2)
- R1: ch 16, start in the 2nd chain, 15 sc, ch 1, turn, start in the 2nd stitch (15)
- R2–13: 15 sc, ch 1, turn — 12 rows
- R14: 15 sc, fasten off
The arms
Shoulder (make 2)
- R1: MR 7 sc (7)
- R2–3: 7 sc, fasten off leaving a long tail (7)
Arm (make 2)
- R1: MR 7 sc (7)
- R2–11: 7 sc — 10 rounds
Fill the arms a little. Then flatten the end and work 3 sl st across it, fasten off and leave a long tail. With that tail, join the arm to the shoulder.
Fingers (make 2)
- R1: ch 10, start in the 2nd chain, 9 sc, ch 1, turn, start in the 2nd stitch (9)
- R2: 9 sc, fasten off
The neck
- R1: MR 6 sc (6)
- R2–15: 6 sc — 14 rounds, fasten off leaving a long tail
Cut a piece of wire 2 cm longer than the neck and wrap one end with tape so it cannot come through the crochet. Push the wire in, taped end first; the untaped end is what will anchor the neck inside the body. Stuff the neck a little.
The eyes
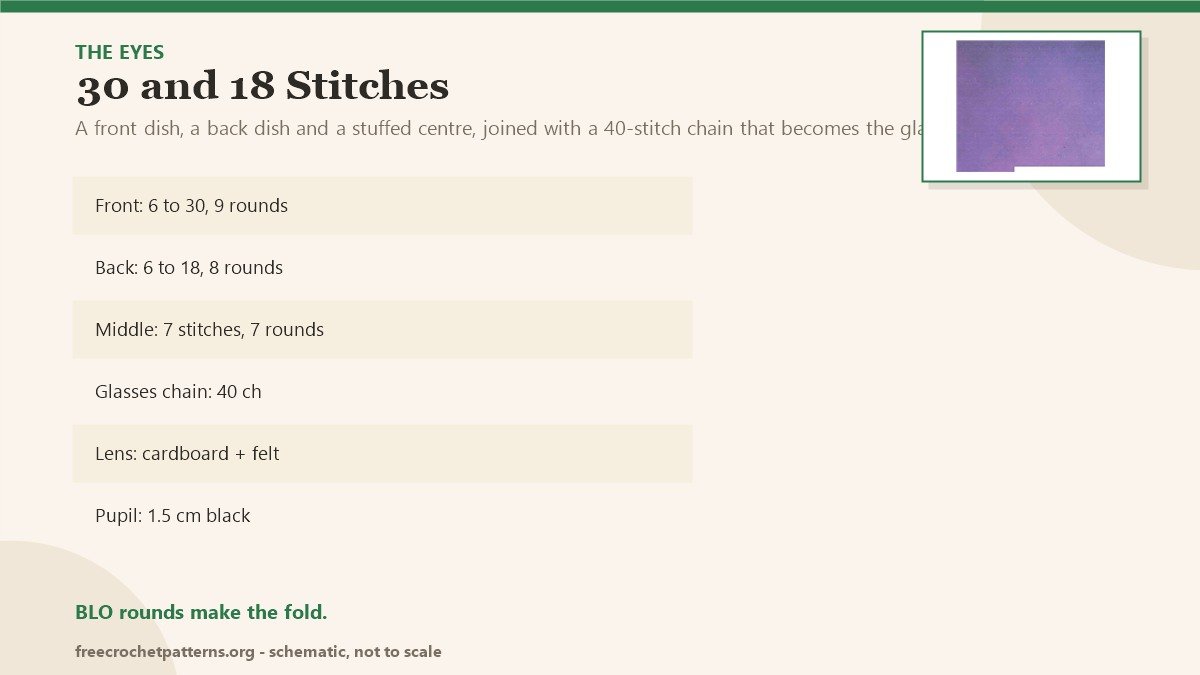
Each eye is a front dish, a back dish and a stuffed centre, with a lens cut from cardboard and grey felt — the cardboard keeps the lens rigid.
Front part (make 2)
- R1: MR 6 sc (6)
- R2: 6 inc (12)
- R3: (sc, inc) ×6 (18)
- R4: (2 sc, inc) ×6 (24)
- R5: (3 sc, inc) ×6 (30)
- R6: 30 sc in BLO
- R7–9: 30 sc, fasten off
Back part (make 2)
- R1: MR 6 sc (6)
- R2: 6 inc (12)
- R3: (sc, inc) ×6 (18)
- R4: 18 sc in BLO
- R5–8: 18 sc, fasten off leaving a long tail
Middle part (make 2)
- R1: MR 7 sc (7)
- R2–7: 7 sc — 6 rounds, stuff and fasten off
Glasses chain (make 2)
Ch 40, fasten off leaving a long tail.
Assembly of an eye: insert the chain in the middle of the back part and secure it on the inside. Fill the back and sew it to the front, centring it as well as you can. Glue the lens to the inside edge. Glue the felt to the cardboard, then add the black pupil — 1.5 cm — on the white.
The wheels
Large parts (make 2)
- R1: MR 6 sc (6)
- R2: 6 inc (12)
- R3: 12 sc in BLO (12)
- R4: 6 dec (6), fasten off
Small parts (make 4)
- R1: MR 8 sc (8)
- R2: 8 sc in BLO (8)
- R3: 4 dec (4), fasten off
Cut three rectangles of cardboard and three of felt, 4 cm, glue each pair together and glue them to what will be the wheel. Join the edge of the piece into a triangle with its own tail, and inside that triangle glue two small parts and one large one.
The body details
- Small front panel: ch 17, start in the 2nd chain, 16 sc, ch 1, turn (16); R2–3: 16 sc; R4: 16 sc, fasten off
- Lower corners (make 4): ch 8, start in the 2nd chain, 3 sc, skip 1 chain, 3 sc, fasten off
- Upper edge: ch 61, start in the 2nd chain, 60 sc, fasten off
- Button: MR 7 sc
Assembly
- Arms: sew the arms to the small panels, three rounds down from the top edge.
- Neck: take one large panel and sew the neck to it, three rows down and as centred as you can, pushing the untaped wire end through the panel and bending its tip so the neck cannot pull out.
- Neck shape: with the long thread left on the neck, sew around it and secure it on both sides, then bend the neck slightly forward so the head will sit proud of the body.
- Cube: glue cardboard behind every panel — 4.5 by 4 cm for the two small ones, 4.5 by 5 cm for the four large ones. Join the panel carrying the neck to its neighbours, then join all the others along the edges into a cube, using the same yarn.
- Stuff, then close with the last panel.
- Glasses: glue the middle part of the lenses to the neck, take five rows of the collar and glue them as the glasses support, then glue the eyes to the sides.
- Fingers: a cardboard base with a layer of felt on top, glued, then stuck to the arm in an L shape.
- Details: the upper edge, the small front panel (2 by 1 cm), the button, and the four corner pieces — two at the front, two at the back. The wheels go right under the arms, about eight rows up from the bottom, and they should lift the robot off the ground.
Notes
The flat panels are the fussy part: each one is 17 or 15 stitches wide and 14 rows long, worked with a turning chain and starting in the second stitch every time. Keep the edges straight — a panel that bulges in the middle will not sit flat against its cardboard.
The two BLO rounds (front part R6, back part R4, wheel R3) are fold lines, not decoration. They make the piece turn a corner sharply, which is what gives the eyes their rim and the wheels their flat face.
Cardboard is not optional. Without it the cube collapses the moment you stuff it, and the panels bow.
The source counts the small panel as 17 stitches at the end of rows 2 to 13 and 15 in the first row. Fifteen is correct for a 16-chain foundation, and that is what I have written.
More toys with structure: Sorting Hat shapes a face with stitch heights, Doll Bed and Blanket builds furniture from a flat rectangle, and Three Little Kittens are the soft end of the scale. Everything is on the patterns page.
Pattern source: WALL-E.
For a big toy that is soft rather than stiffened, Dino Family joins its legs and tail into the body as it grows.
2 comments