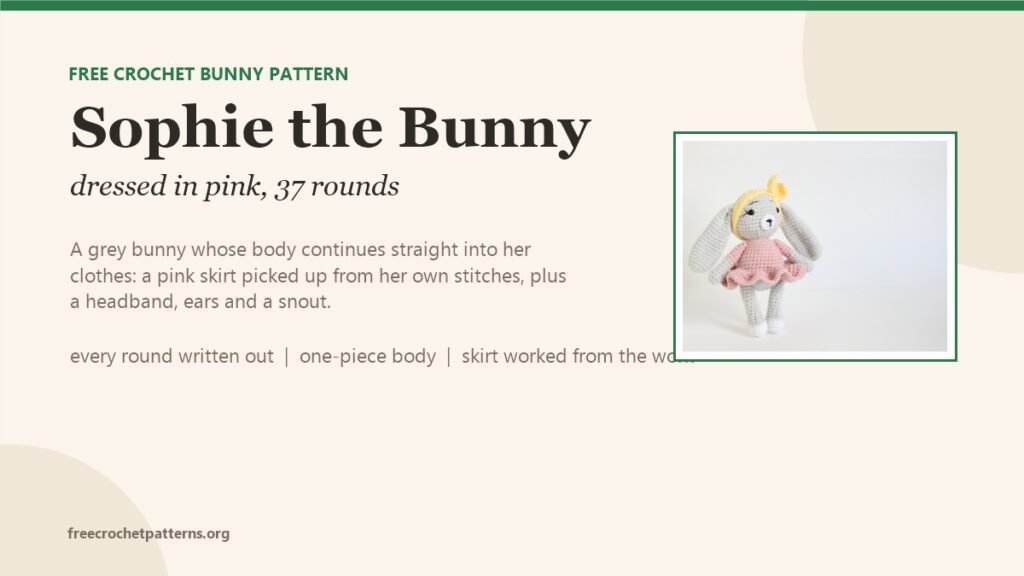
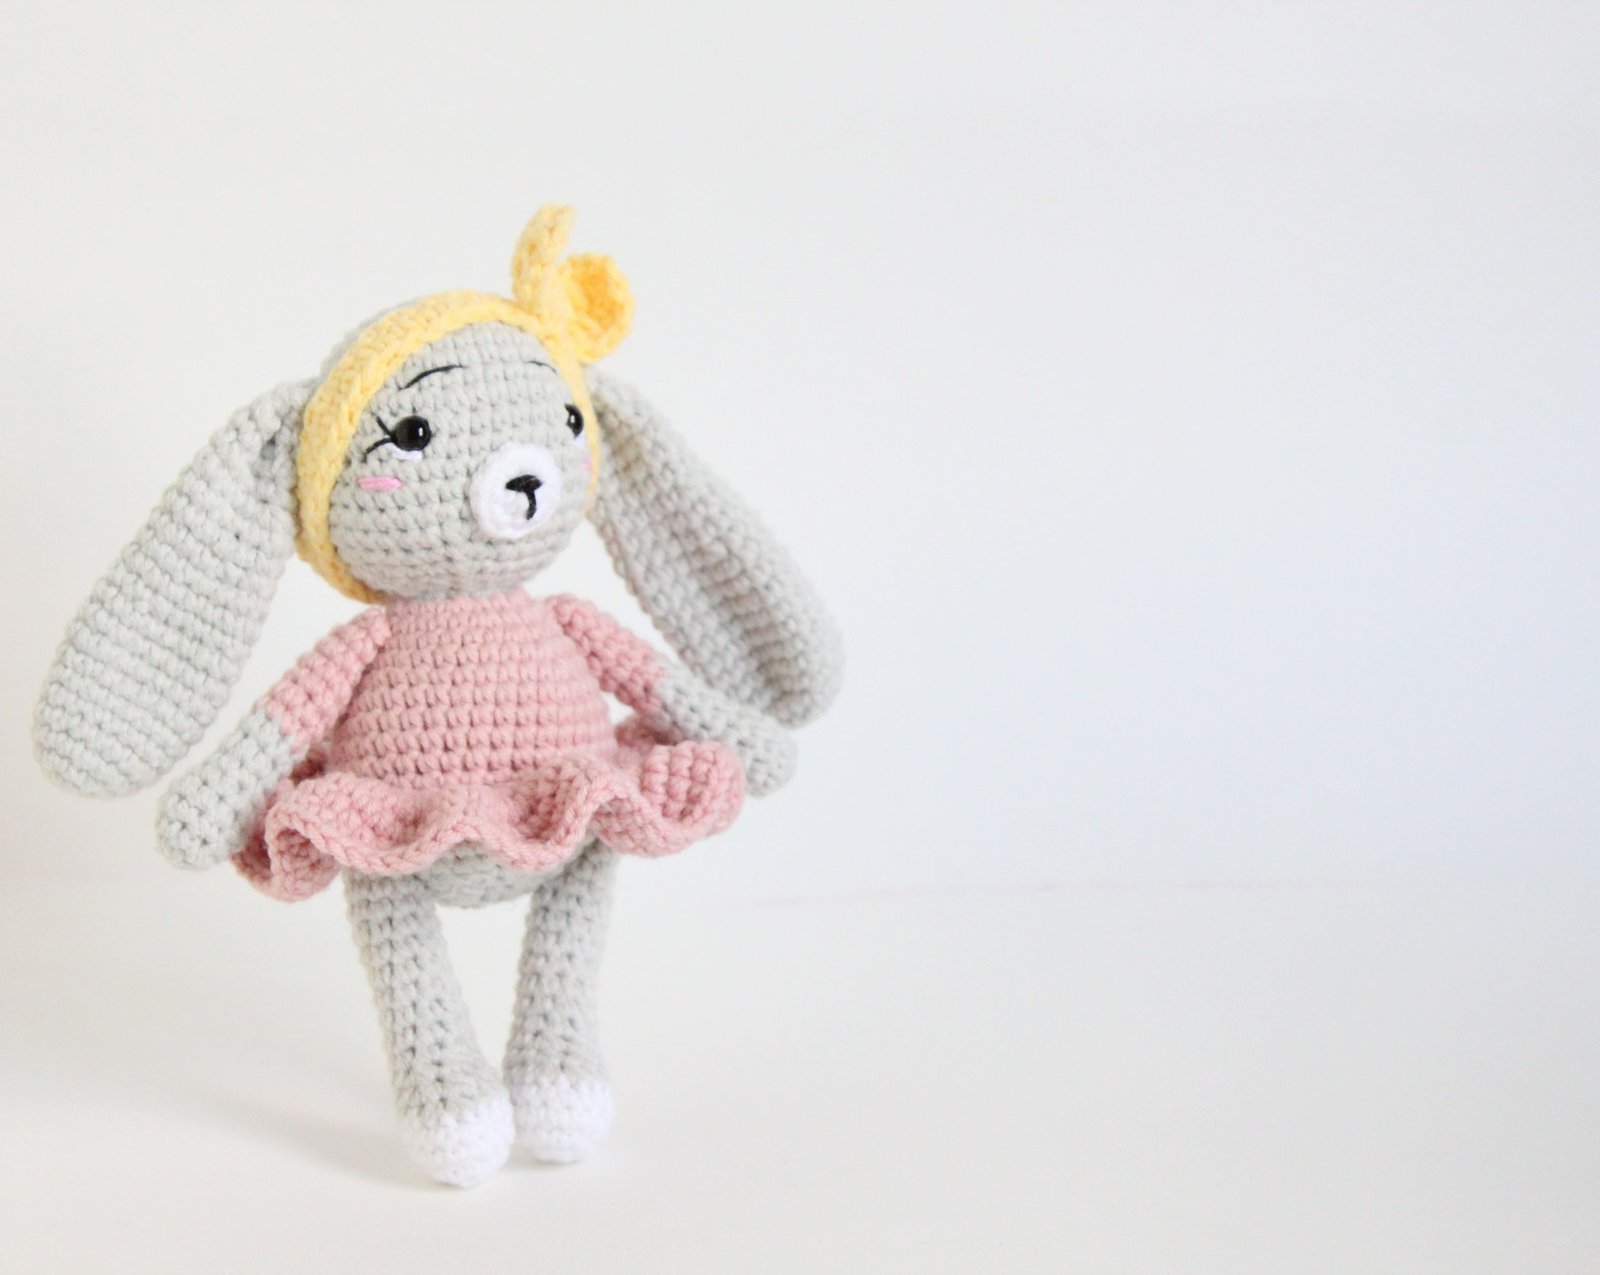
A grey bunny in a pink dress, worked as one piece from the top of the head to the hips. There is no separate body and no separate outfit: the yarn changes colour at the neck, the dress is crocheted as part of the torso, and the skirt is picked up afterwards from a row of that dress and flared outwards.
That is the whole design, and it is a good one for a dressed toy. Sewing a garment onto a small body is fiddly and never sits right; here the dress is the body, and only the skirt, the legs, the arms, the ears and the headband are separate pieces.
Every round is written out below.
What you need
- Yarn: light grey for the head, ears and arms; pink for the dress and skirt; white for the paws and the snout; light beige for the legs; light yellow for the headband
- Hooks: whichever suits your yarn — the head is worked at a tight gauge so the stuffing does not show
- Notions: safety eyes, fibre fill, tapestry needle, black and pink embroidery thread
US terms. Numbers in square brackets are the stitch count at the end of the round.
Head and body
Use light grey.
- Rd 1: magic ring with 6 SC [6]
- Rd 2: INC in each stitch [12]
- Rd 3: SC in the first stitch, INC, repeat around [18]
- Rd 4: SC in the first 2 stitches, INC, repeat around [24]
- Rd 5: SC in the first 3 stitches, INC, repeat around [30]
- Rd 6: SC around [30]
- Rd 7: SC in the first 4 stitches, INC, repeat around [36]
- Rd 8: SC around [36]
- Rd 9: SC in the first 5 stitches, INC, repeat around [42]
- Rd 10–14: SC around [42] — 5 rounds
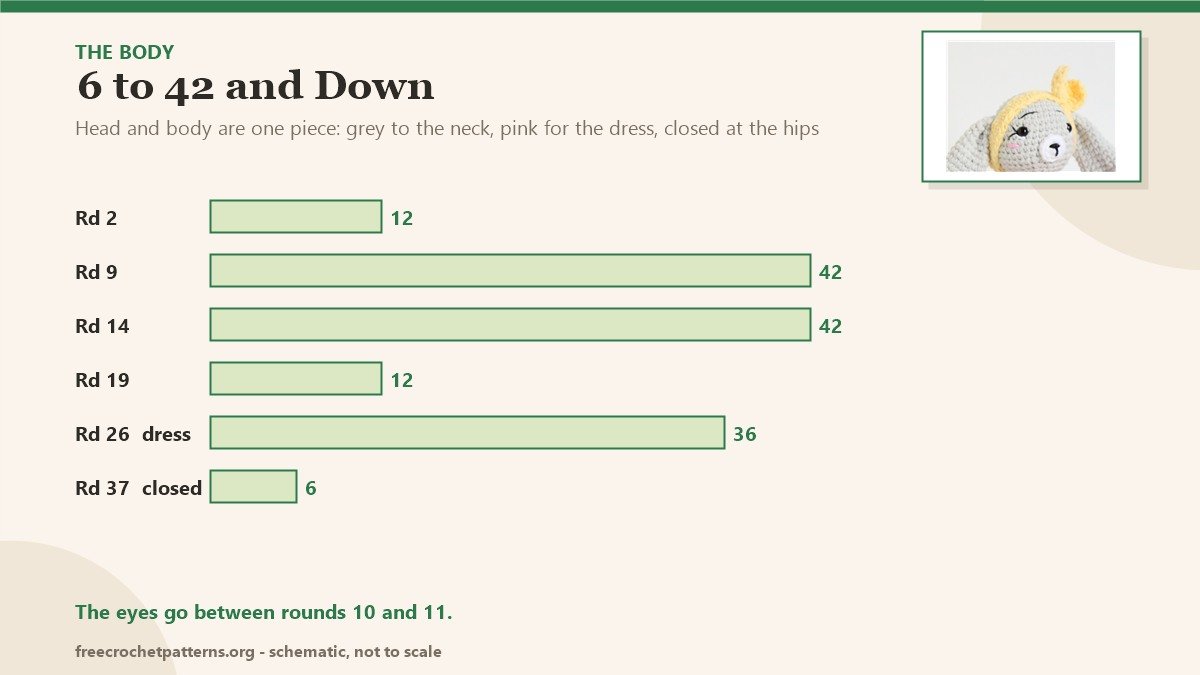
Insert the eyes between rounds 10 and 11, nine stitches apart.
- Rd 15: SC in the first 5 stitches, DEC, repeat around [36]
- Rd 16: SC in the first 4 stitches, DEC, repeat around [30]
- Rd 17: SC in the first 3 stitches, DEC, repeat around [24]
- Rd 18: SC in the first 2 stitches, DEC, repeat around [18]
- Rd 19: SC in the first stitch, DEC, repeat around [12]
Change to pink.
- Rd 21: SC, INC, repeat around [18]
- Rd 22: SC ×2, INC, repeat around [24]
- Rd 23: SC ×7, INC, repeat around [27]
- Rd 24: SC ×8, INC, repeat around [30]
- Rd 25: SC ×9, INC, repeat around [33]
- Rd 26: SC ×10, INC, repeat around [36]
- Rd 27–32: SC around [36] — 6 rounds
- Rd 33: SC ×4, DEC, repeat around [30]
- Rd 34: SC ×3, DEC, repeat around [24]
- Rd 35: SC ×2, DEC, repeat around [18]
- Rd 36: SC, DEC, repeat around [12]
- Rd 37: DEC around [6]
Fasten off and hide the tail. Stuff through the neck before the last rounds close.
Round 20 is missing from the source: the count goes from 12 at round 19 to 18 at round 21, and that round is the first increase, so a plain round of 12 belongs between them. Work it if your piece looks short.
The skirt
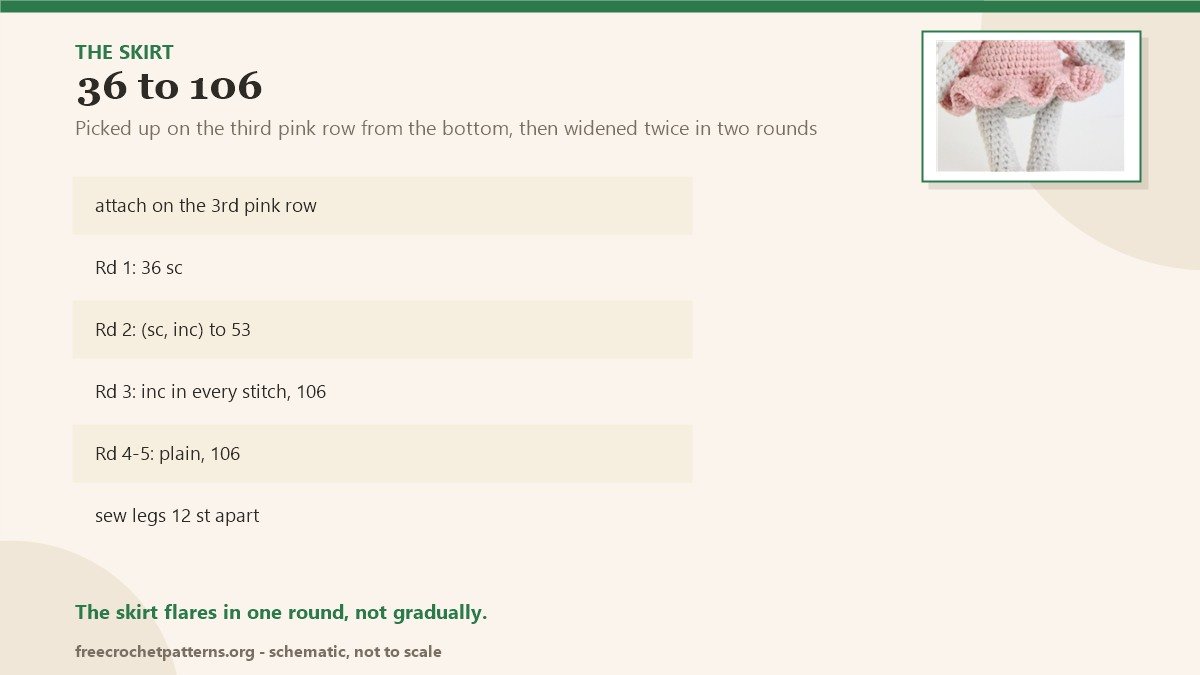
Attach pink to the third pink row counting from the bottom of the dress, as shown in the photos, and work outwards.
- Rd 1: SC around [36]
- Rd 2: SC, INC, repeat around [53]
- Rd 3: INC around [106]
- Rd 4–5: SC around [106] — 2 rounds
The skirt does not flare gradually: round 2 adds a stitch every other stitch, and round 3 doubles everything. That single doubling round is what gives it the flat, pleated look in the photos. The counts are the source’s own — 36 to 53 is one stitch short of a clean (SC, INC) round, and 106 follows from 53.
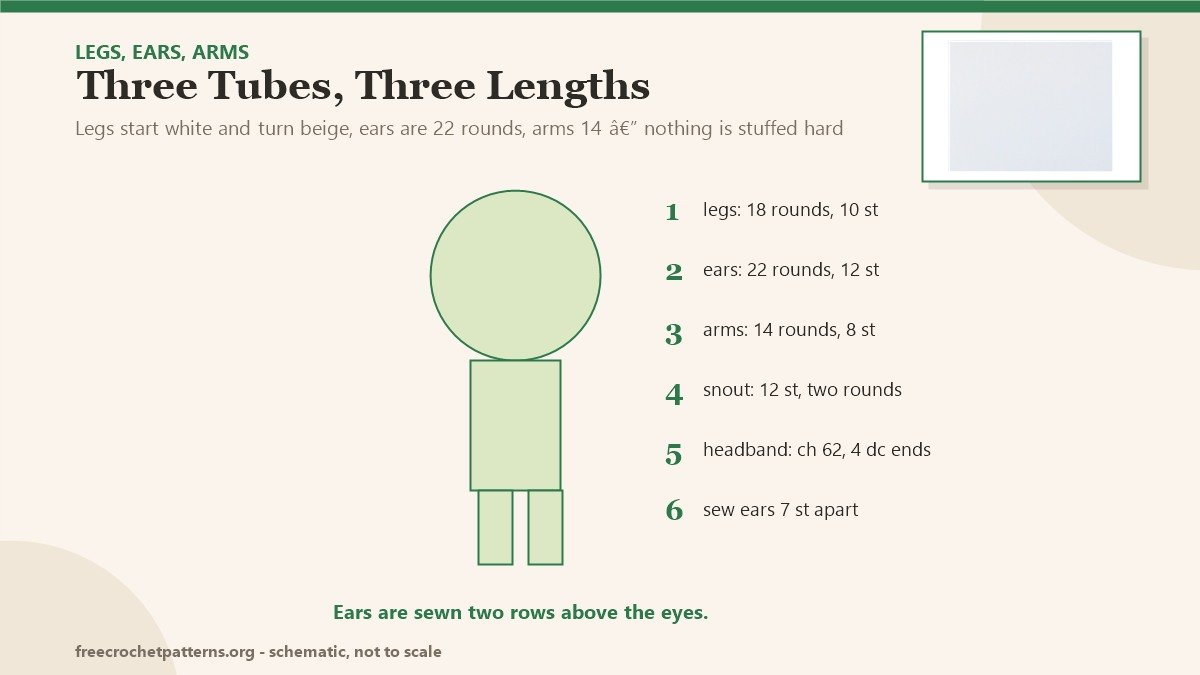
The legs (make 2)
Start with white. Ch 3 and begin in the second chain from the hook, working in a spiral around the chain.
- Rd 1: INC in the first stitch, 4 SC in the next stitch, INC [8]
- Rd 2: INC in each stitch [16]
- Rd 3–4: SC around [16]
- Rd 5: SC ×6, DEC ×2, SC ×6 [14]
- Rd 6: SC ×5, DEC, SC ×5 [12]
- Rd 7: SC ×4, DEC ×2, SC ×4 [10]
- Rd 8: SC around [10]
Change to light beige.
- Rd 9–18: SC around [10] — 10 rounds
The ears (make 2)
Light grey.
- Rd 1: magic ring with 6 SC [6]
- Rd 2: INC in each stitch [12]
- Rd 3: SC in the first stitch, INC, repeat around [18]
- Rd 4–10: SC around [18] — 7 rounds
- Rd 11: SC ×7, DEC, repeat around [16]
- Rd 12–13: SC around [16]
- Rd 14: SC ×6, DEC, repeat around [14]
- Rd 15–16: SC around [14]
- Rd 17: SC ×5, DEC, repeat around [12]
- Rd 18–22: SC around [12] — 5 rounds
End with a slip stitch.
The arms (make 2)
- Rd 1: magic ring with 6 SC [6]
- Rd 2: SC ×2, INC, repeat around [8]
- Rd 3: SC ×3, INC, repeat around [10]
- Rd 4: SC around [10]
- Rd 5: SC ×3, DEC, repeat around [8]
- Rd 6–8: SC around [8]
Change to light grey.
- Rd 9–14: SC around [8] — 6 rounds
The headband
Light yellow. Ch 62 and start in the second chain from the hook, working in a spiral around the chain.
- Rd 1: SC, DC ×4, SC ×51, DC ×4, slip stitch; then work back along the other side of the chain: DC ×4, SC ×51, DC ×4, slip stitch
- Then SC ×51, SC ×51
The four double crochet at each end make the flat button that sits over the ear.
The face
- Snout: white. Rd 1: magic ring with 6 SC [6]; Rd 2: INC in each stitch [12]. Sew it between the eyes, one row below them.
- Nose and mouth: embroider a 1-stitch wide black vertical line and a horizontal one in the snout.
- Brows and lashes: place the brows slightly diagonally, and add a small white line under each eye — it makes the eyes read as wet.
- Blush: two stitches of pink on each cheek.
Assembly
- Legs: sew them to the body right under the last pink row, 12 stitches apart.
- Arms: just above the legs, under the first pink row, 3 stitches from the eye.
- Ears: two rows above the eye, 7 stitches apart.
- Headband: around the head, under the ears.
Notes
The dress is part of the body, so any stuffing shows through it. Stuff the torso lightly and evenly, and check the front of the dress before you close the hips — a lump in the pink is much more visible than one in the grey.
The legs begin as a chain worked around in a spiral, which makes a small oval foot rather than a flat disc. That is why the first round reads INC, 4 SC in one stitch, INC: the four stitches in a single chain turn the corner of the foot.
If you want a boy version, the same rounds work with a pair of shorts picked up the same way, from a row two rounds higher.
More bunnies and small dressed toys: Lily Bunny is the 35 cm rabbit, Pig in a Granny Square Blanket is the one with a separate blanket, and Three Little Kittens are the 14 cm trio. Everything is on the patterns page.
Pattern source: Sophie the Bunny.
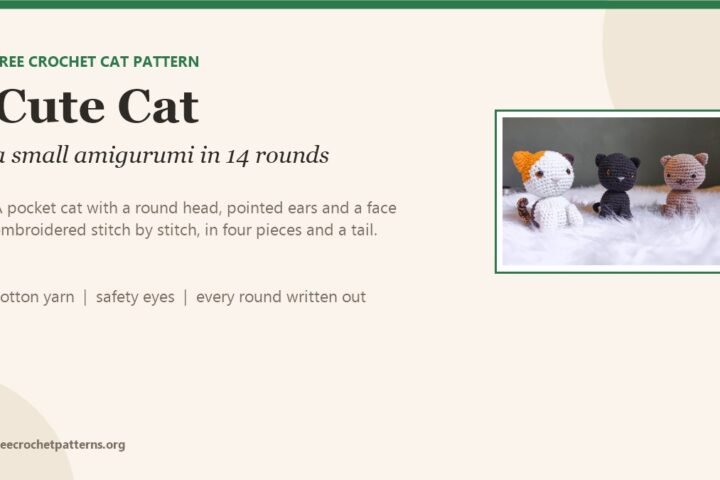
If you liked embroidering a face rather than crocheting it, Cute Cat wraps the muzzle with a needle in three passes.
The big sister of Teya the Fairy is Sophie the Bunny, whose clothes are crocheted into her body rather than worn over it.
1 comment