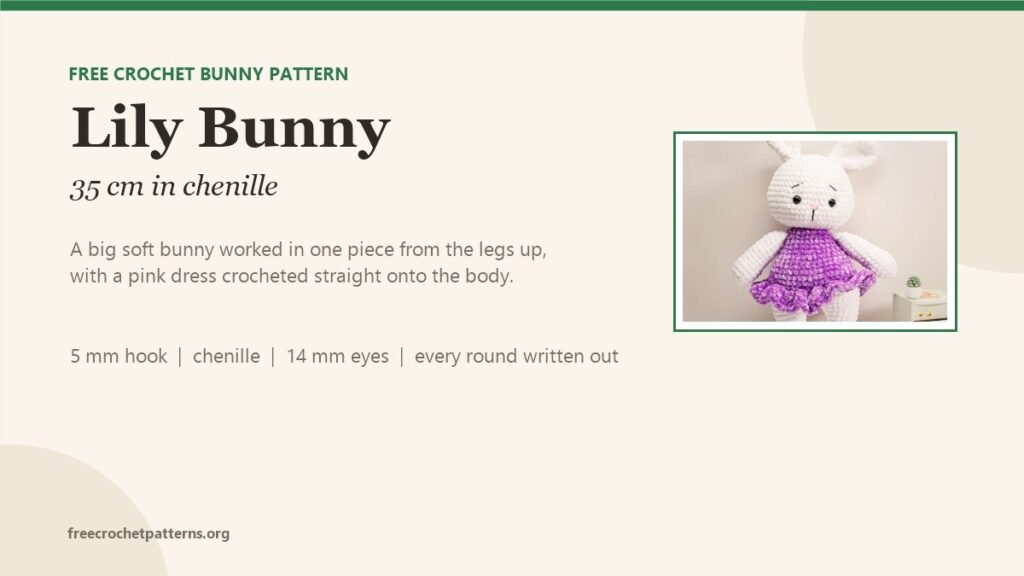
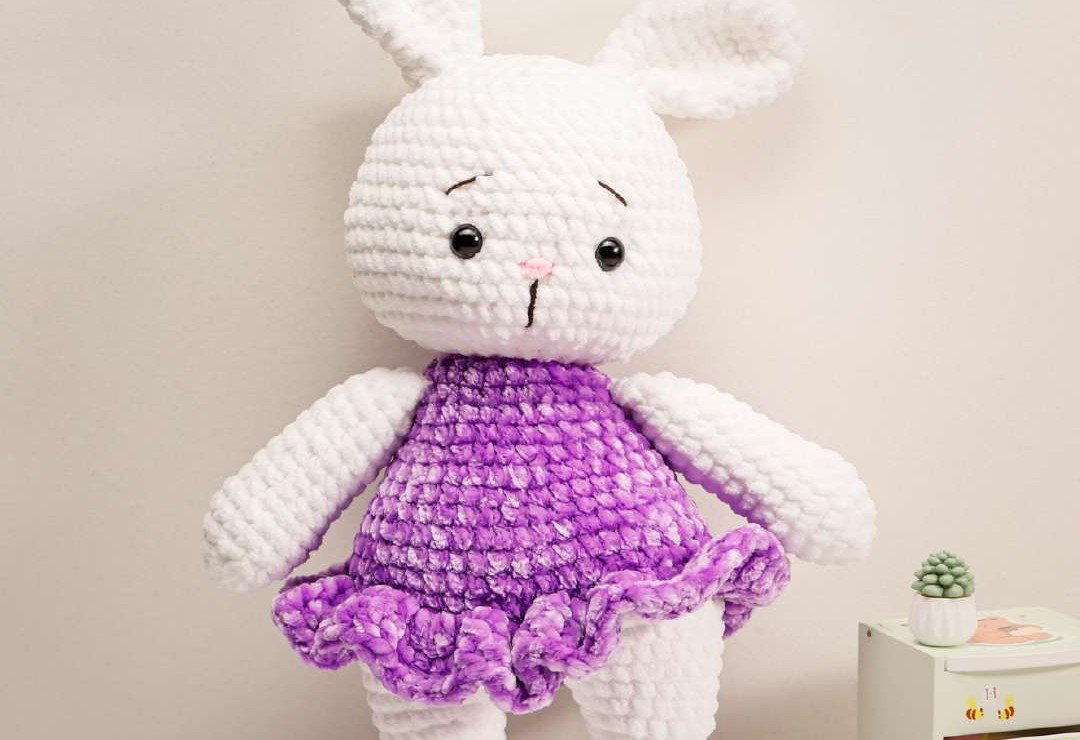
Lily is a 35 cm bunny in chenille, and almost all of her is one piece: the two legs are joined with a chain bridge at the start of the body, the body runs straight up into the head without a seam, and the pink dress is crocheted onto the body rather than made separately and put on afterwards.
That single trick — round 8 worked in the back loops only — is the whole design. The front loops of that round are left free, and two rounds of double crochet worked into them from above become the skirt. Nothing is sewn, nothing is gathered, and the waist sits exactly where the dress should sit.
Chenille does the rest. On a 5 mm hook with sport weight chenille the fabric comes out dense and soft, and the stitches disappear into the pile, which hides any irregularity in the shaping. If you are used to cotton, expect the yarn to shed while you work and the stitch definition to be poor — count your rounds rather than reading them.
What you need
- Yarn: sport weight chenille — white, and purple or pink for the dress; the original uses chenille 01 and 13
- Hook: 5 mm
- Eyes: 14 mm safety eyes
- Notions: fibre fill, brown thread for the brows and muzzle, pink thread for the nose, white thread for the head sculpting, sewing needle
Difficulty: easy to medium. Finished height about 35 cm. US terms.
Abbreviations
MR magic ring, sc single crochet, dc double crochet, inc increase, dec decrease, ch chain, BLO back loops only. Work in continuous rounds unless the pattern says otherwise.
The arms (make 2, white)
Stuff only two thirds of each arm — the top stays empty so it can be flattened against the body.
- R1: 6 sc in MR (6)
- R2: 6 inc (12)
- R3: (3 sc, inc) ×3 (15)
- R4–5: 15 sc — 2 rounds
- R6: (3 sc, dec) ×3 (12)
- R7–14: 12 sc — 8 rounds
- R15: (4 sc, dec) ×2 (10)
- R16: 10 sc
Fold the arm in half and work 5 sc through both sides to close it. Fasten off, leaving a tail. The arms are sewn two rounds under the start of the head.
The legs (make 2, white)
Stuff as you go.
- R1: 7 sc in MR (7)
- R2: 7 inc (14)
- R3: (sc, inc) ×7 (21)
- R4–5: 21 sc — 2 rounds
- R6: 7 sc, 4 dec, 6 sc (17)
- R7: 7 sc, 2 dec, 6 sc (15)
- R8–10: 15 sc — 3 rounds
- R11: (4 sc, inc) ×3 (18)
- R12: 18 sc
Left leg: work 14 sc, then fasten off and cut the yarn. Right leg: work 18 sc and do not cut the yarn — the body starts from here.
The body
- R1: 7 sc along the right leg, ch 3, 18 sc around the left leg, 3 sc into the chain, 18 sc around the right leg, 3 sc into the chain — place the marker here (42)
- R2: (6 sc, inc) ×6 (48)
- R3–6: 48 sc — 4 rounds
Change to the dress colour.
- R7: 48 sc
- R8: BLO 48 sc
- R9: (6 sc, dec) ×6 (42)
- R10–11: 42 sc — 2 rounds
- R12: (5 sc, dec) ×6 (36)
- R13–14: 36 sc — 2 rounds
- R15: (4 sc, dec) ×6 (30)
- R16–17: 30 sc — 2 rounds
- R18: (3 sc, dec) ×6 (24)
- R19: 24 sc
- R20: (6 sc, dec) ×3 (21)
Stuff the body firmly, especially at the neck — a soft neck is what makes a doll’s head droop. Cut the dress yarn, but do not start the head yet: the skirt comes first.

The skirt
Attach the dress colour to the back of the body, into the free front loops of R8, and work with the body upside down.
- R1: 2 dc in each loop (96)
- R2: 96 dc
Fasten off and hide the thread inside the body.

The head
Continue from the 21 stitches at the top of the body, in white. Stuff as you go.
- R1: 21 sc
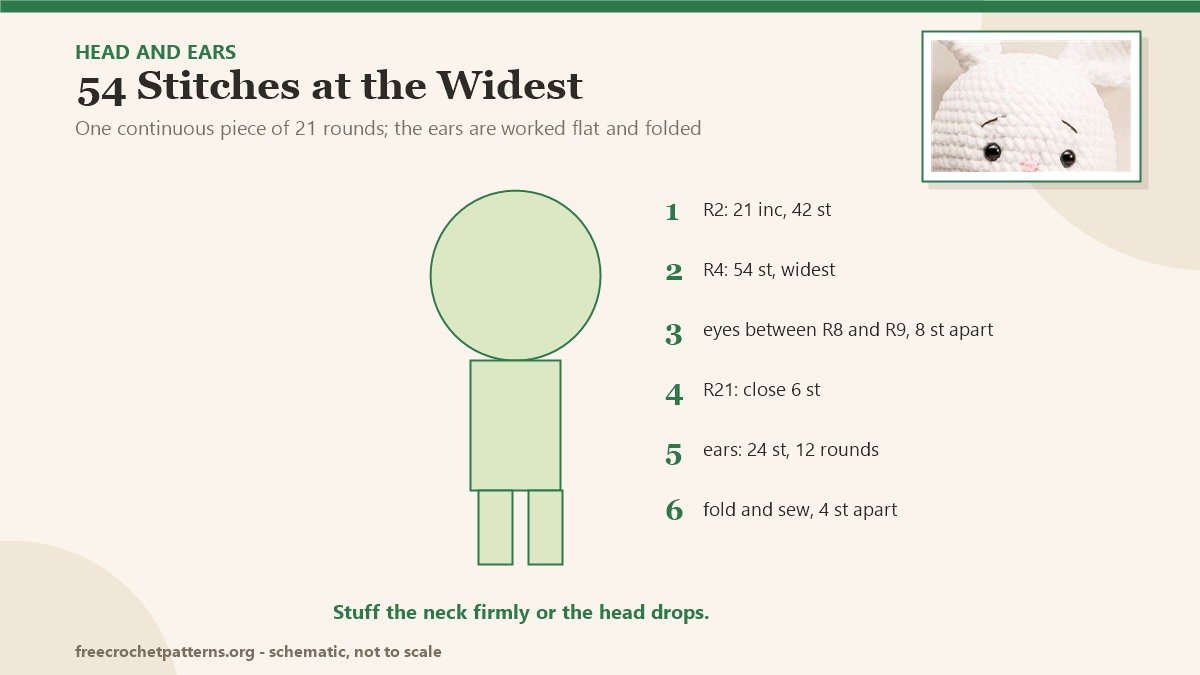
- R2: 21 inc (42)
- R3: (6 sc, inc) ×6 (48)
- R4: (7 sc, inc) ×6 (54)
- R5–9: 54 sc — 5 rounds
Insert the eyes between R8 and R9, 8 stitches apart.
- R10: (7 sc, dec) ×6 (48)
- R11–13: 48 sc — 3 rounds
- R14: (6 sc, dec) ×6 (42)
- R15: 42 sc
- R16: (5 sc, dec) ×6 (36)
- R17: (4 sc, dec) ×6 (30)
- R18: (3 sc, dec) ×6 (24)
- R19: (2 sc, dec) ×6 (18)
- R20: (sc, dec) ×6 (12)
- R21: 6 dec (6)
Make sure the head is stuffed firmly, close the opening and hide the yarn inside.
Sculpting. With white thread, take a few stitches from the eyes down through the muzzle and pull gently to sink the eye sockets slightly, then repeat on the other side. This is what gives the face its expression; without it a chenille head reads as a ball.
The face. Embroider the nose in pink just below eye level, the muzzle in brown beneath it, and two short brows above the eyes.
The ears (make 2, white)
- R1: 6 sc in MR (6)
- R2: 6 inc (12)
- R3: (sc, inc) ×6 (18)
- R4: (2 sc, inc) ×6 (24)
- R5–6: 24 sc — 2 rounds
- R7: (6 sc, dec) ×3 (21)
- R8: (5 sc, dec) ×3 (18)
- R9: (4 sc, dec) ×3 (15)
- R10–12: 15 sc — 3 rounds
Fasten off, leaving a tail. Fold the ear in half and sew the two ends together so it sits flat, then sew it to the top of the head with 4 stitches between the two ears.
Assembly
- Arms two rounds below the start of the head, angled slightly forward — sewn straight down they read as handles.
- Ears at the very top, 4 stitches apart, both leaning outwards a little.
- The skirt should hang free: if it flares upwards instead of down, you worked into the wrong loop of R8.
Notes
The original prints “8 sc” for rounds 7 to 14 of the arm while the round before it ends on 12 stitches, and the next round needs 12 to work. I have written 12 sc for those eight rounds; the arm closes with 5 sc, which confirms 10 stitches at R16.
Chenille is unforgiving about tension: if the stuffing shows between stitches, go down to 4.5 mm rather than pulling tighter, which just makes the fabric stiff.
More soft toys on the same idea: Three Little Kittens is the small three-in-one set, Winnie Rabbit is the smaller bunny, and Plush Cat is the other chenille one. Everything is on the patterns page.
Pattern source: Lily Bunny.
For a quick make between bigger projects, Pig in a Granny Square Blanket uses leftover DK and a single granny square.
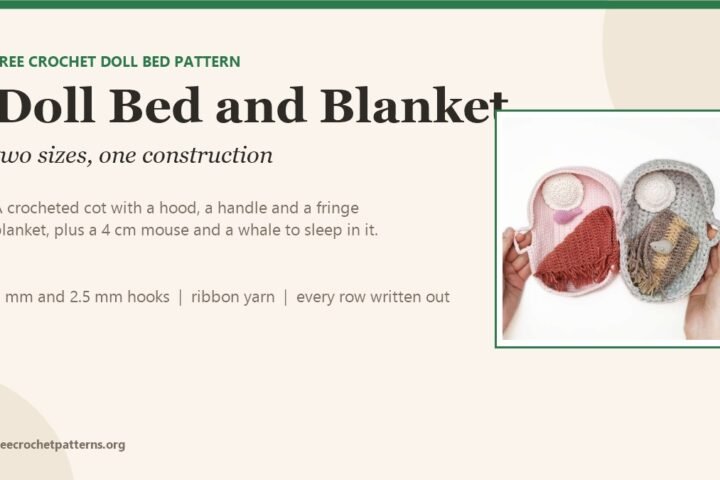
The bed that suits a 35 cm doll is Doll Bed and Blanket, worked in ribbon yarn on a 5 mm hook.
2 comments