
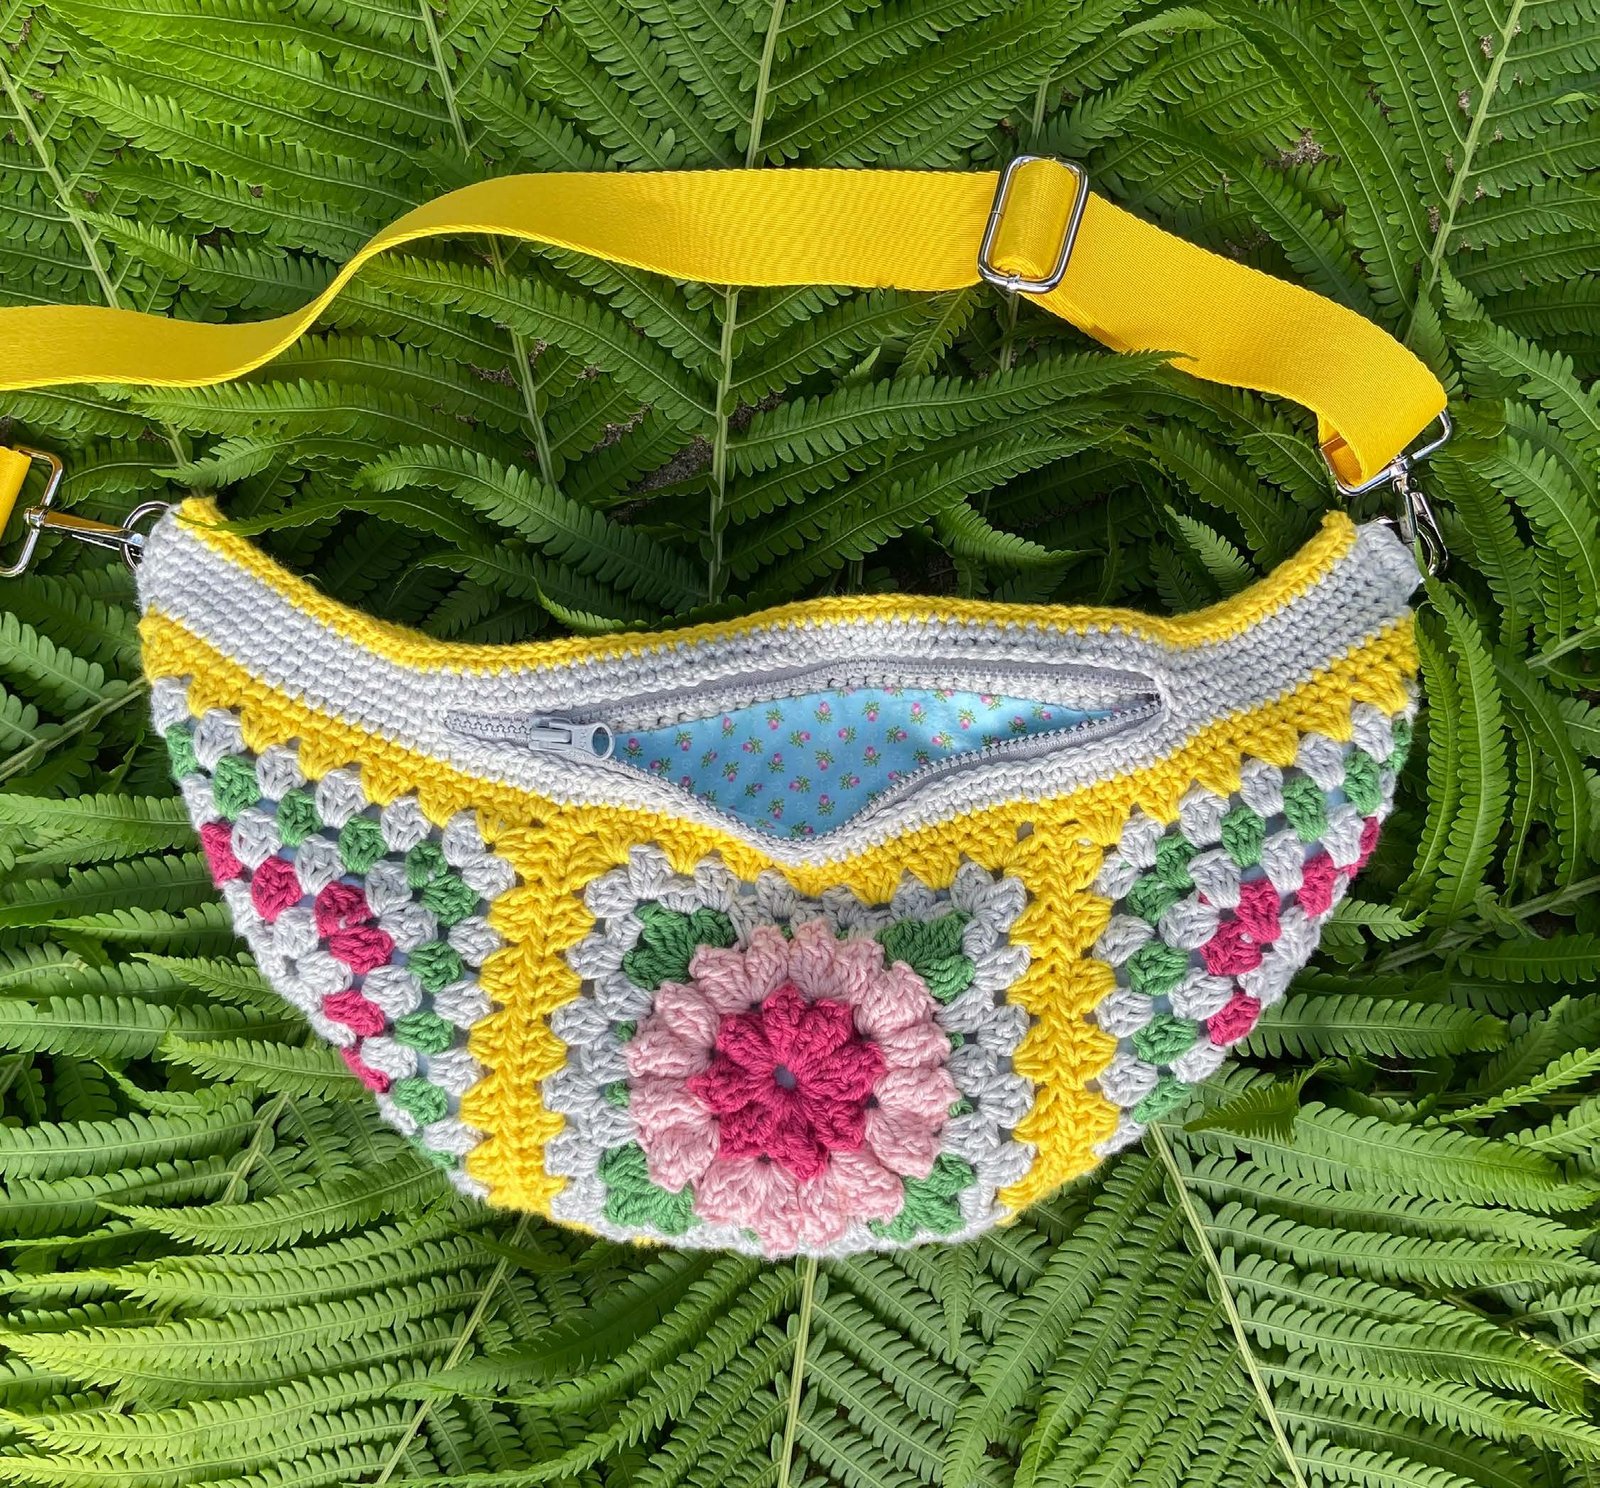
A belt bag, fanny pack, crossbody — call it what you like — made from four granny squares and a border. Three of the squares are plain, the fourth carries a flower built on popcorn petals, and all four are worked separately, joined into a T, and closed along the top edge with a border that leaves a gap for a zipper.
The bag measures about 47 by 21.5 cm and each square is 16 cm, so the four squares do not make a simple rectangle: three sit side by side in a row and the flower square forms the lower part of the T. That shape is why the bag sits flat against the body instead of swinging around.
The clever part is the top border. It is not just a finishing edge — it is where the zipper goes in. On the fourth round you skip a stretch of stitches and chain across instead, then work single crochet into those chains on the next round, and the resulting opening is exactly the right height for a zip to be sewn in from the wrong side. Every round is written out below.
What you need
- Yarn: worsted weight cotton, about 60 yd dark pink (C1), 25 yd pale pink (C2), 80 yd grass green (C3), 160 yd light grey (C4), 110 yd bright yellow (C5)
- Hook: US G/6 (4 mm)
- Notions: yarn needle, removable stitch markers, a zipper between 15 and 45 cm long, thread and sewing needle, 30 cm of quilting cotton for the lining, fabric marker, quilting pins, an adjustable crossbody strap and two 19 mm D-rings
Gauge: working through round 7 of the plain square gives a 15 cm square. US terms.
Abbreviations
3-DC cl three double crochet cluster, 3-tr cl three treble crochet cluster, beg 3-DC cl beginning cluster, ch chain, DC double crochet, HDC half double crochet, PP popcorn petal, SC single crochet, sl st slip stitch, sp space, st stitch, Tr treble crochet.
The special stitches
- Popcorn petal (PP): ch 1, work 5 Tr into the indicated stitch, remove the hook from the working loop, insert it from right side to wrong side through the chain stitch just before the first Tr, put the working loop back on the hook and draw it through.
- Beginning 3-DC cluster: ch 2 (this chain counts as the first leg), (yarn over, insert the hook in the spot, yarn over and pull up a loop, yarn over and pull through two loops) twice — three loops on the hook — then yarn over and pull through all three.
- 3-DC cluster: (yarn over, insert, pull up a loop, pull through two loops) three times — four loops — then through all four.
- 3-tr cluster: (yarn over twice, insert, pull up a loop, pull through two loops twice) three times — four loops — then through all four.
Colour changes on a granny square
If you change colour but intend to go back to it on a later round, drop the old colour to the wrong side rather than cutting it. Finish the round in the new colour, fasten off, then insert the hook into the corner space just below the joining HDC, pull up a loop of the old colour, ch 2 (counts as the first DC of the round) and carry on. The old colour waits at the back and there is no end to weave in.
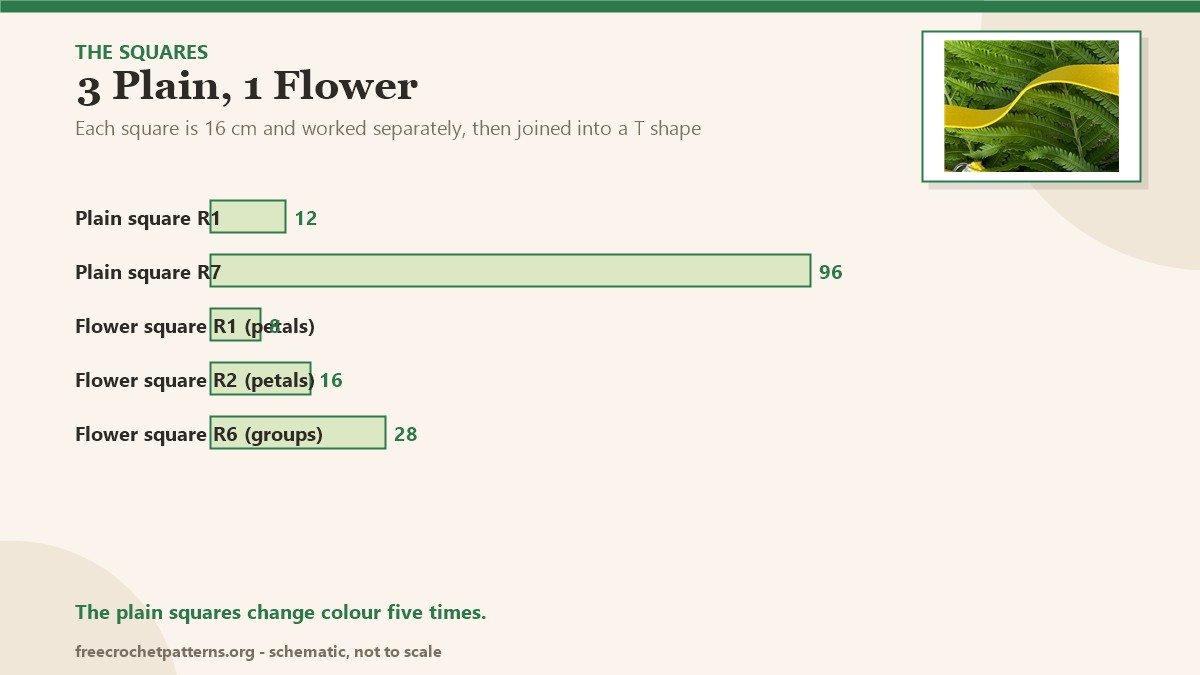
Colour order used in each plain square: C4, C4, C1, C4, C3, C4, C5. For the flower square: C1, C2, C3, C4, C4, C5.
Plain granny square (make 3)
- Set-up: with C4, ch 4 and sl st in the first chain to make a ring.
- R1: ch 3 (counts as the first DC), 2 DC in the centre of the ring, (ch 2, 3 DC in the ring) 3 times, HDC into the top of the starting ch-3 to join.
- R2: still C4, ch 3, 2 DC in the corner space (the space left by the joining HDC), (skip 3 DC, 3 DC, ch 2, 3 DC in the next ch-2 space) 3 times, skip 3 DC, 3 DC in the first corner space, HDC into the top of the ch-3 to join. Change to C1 by pulling the new colour through, and pull the old colour until its last loop disappears. Do not cut C4.
- R3: with C1, ch 3, 2 DC in the same corner space, (skip 3 DC, 3 DC in the space before the next group, skip 3 DC, 3 DC, ch 2, 3 DC in the next ch-2 space) 3 times, skip 3 DC, 3 DC in the space before the next group, skip 3 DC, 3 DC in the first corner space, HDC to join. Fasten off.
- R4: insert the hook in the corner ch-2 space, pull up a loop of C4, ch 3, 2 DC in the same space, (3 DC in each space between groups across to the next corner, 3 DC, ch 2, 3 DC in the corner) 3 times, 3 DC in each space across to the first corner, 3 DC in the corner, HDC to join. Change to C3. Do not cut C4.
- R5: with C3, ch 3, 2 DC in the same corner space, (3 DC in each space between groups across to the next corner, 3 DC, ch 2, 3 DC in the corner) 3 times, 3 DC in each space to the first corner, 3 DC in the corner, HDC to join. Fasten off.
- R6: repeat R4, changing to C5 at the end of the round.
- R7: with C5, repeat R5.
Fasten off leaving a long tail for seaming. Weave in every end except the last.
Floral granny square (make 1)
- Set-up: with C1, ch 6 and sl st in the first chain to make a ring.
- R1: ch 3 (does not count as a stitch), (PP, Tr) 8 times in the centre of the ring, join with a sl st to the top of the first Tr. Fasten off. Eight petals with eight trebles between them. The first Tr of the round is the one between the first and second PP.
- R2: join C2 with a sl st to any Tr of R1. Ch 3 (does not count as a stitch), and starting in that same Tr work (PP, Tr, PP, Tr) into each Tr around, joining with a sl st to the top of the first Tr. Fasten off. Sixteen petals with sixteen trebles. All stitches go into the trebles; the petals of R1 are skipped.
- R3: join C3 with a sl st to any Tr of R1. In that stitch work (beg 3-DC cl, ch 2, 3-tr cl, ch 2, 3-DC cl) and place a marker in the second ch-2 space made. (Ch 12, skip the next 4 PP and the next 3 Tr between them, then 3-DC cl, ch 2, 3-tr cl, ch 2, 3-DC cl in the next Tr) 3 times, ch 12, skip the next 4 PP and 3 Tr, join with a sl st to the top of the beginning cluster. Fasten off. That gives eight 3-DC clusters, four 3-tr clusters and four ch-12 spaces.
- R4: join C4 with a sl st to the marked ch-2 space, ch 1 (does not count), 3 SC in the same space, (skip the next 3-DC cluster, working over the long chain of the previous round so that it is encased and skipping the next 3 PP stitches, 3 DC into each of the next 3 Tr of R2, skip the next 3-DC cluster, 3 SC in the next ch-2 space, ch 2, skip the 3-tr cluster, 3 SC in the next ch-2 space) 3 times, then skip the next 3-DC cluster, work over the long chain again, 3 DC into each of the next 3 Tr of R2, skip the next cluster, 3 SC in the next ch-2 space, HDC into the first SC to join. That is 24 SC, 36 DC and four ch-2 spaces.
- R5: still C4, ch 2 (counts as the first DC), 2 DC in the same corner space, (skip 3 SC, (3 DC in the space before the next group, skip 3 DC) 3 times, 3 DC in the space before the next 3 SC, skip 3 SC, 3 DC, ch 2, 3 DC in the corner space) 3 times, then skip 3 SC, (3 DC before the next group, skip 3 DC) 3 times, 3 DC before the next 3 SC, 3 DC in the first corner space, HDC into the top of the ch-2 to join. Twenty-four groups of 3 DC and four ch-2 spaces. Fasten off.
- R6: join C5 with a sl st to any corner ch-2 space, ch 2, 2 DC in the same space, (skip 3 DC, (3 DC in the space before the next group, skip 3 DC) 5 times, 3 DC, ch 2, 3 DC in the corner space) 3 times, skip 3 DC, (3 DC before the next group, skip 3 DC) 5 times, 3 DC in the first ch-2 space, HDC to join. Twenty-eight groups and four ch-2 spaces. Fasten off.
Weave in all ends except the final tail.
Joining the squares
Block the squares first if they are not the same size — or wait and block the finished bag. Lay them out in the T shape shown in the photos and seam them with a whipstitch. Once the T is made, sew the remaining two seams marked by the arrows in the original photo. Weave in the ends.
Top border
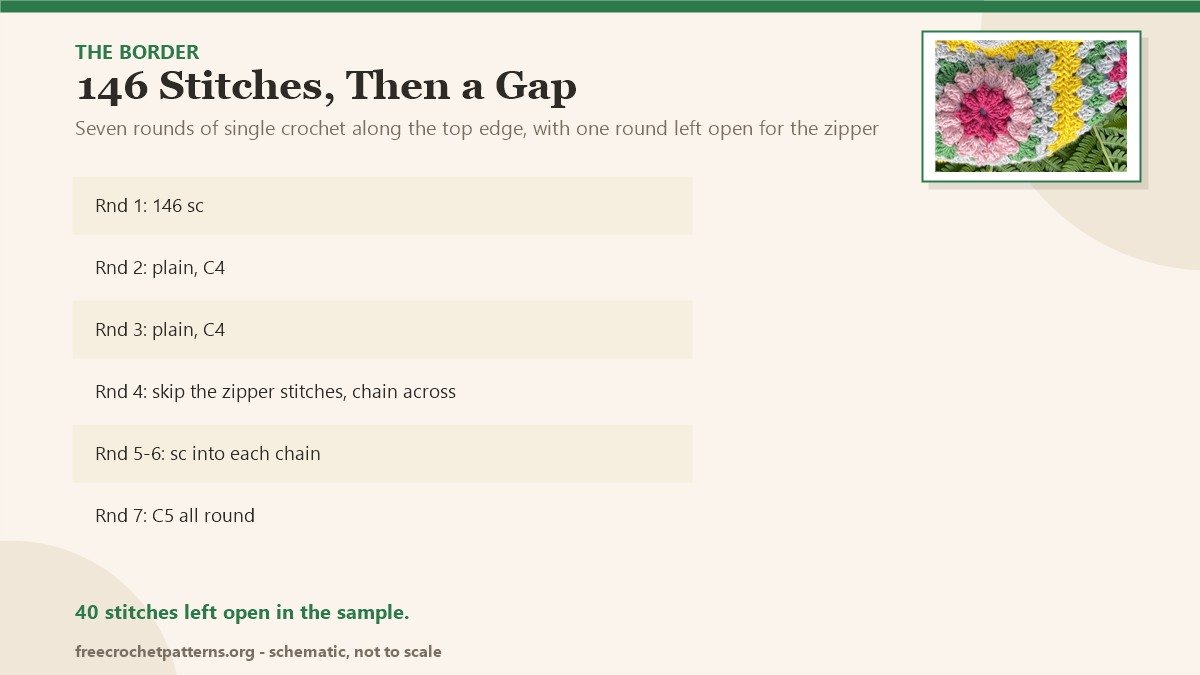
- R1: pull up a loop of C5 in a corner ch-2 space, ch 1 (does not count), SC in the same space, SC in each of the next 21 DC, 2 SC in each of the next 2 corner spaces, and carry on around the top edge in the same way — one SC in the top of each DC and 2 SC in every corner space — finishing with one SC in the space where the first SC was made. Sl st to the first SC. Fasten off. 146 stitches.
- R2: pull up a loop of C4 in the first stitch of the previous round, ch 1, SC in each stitch around, sl st to the first SC. Do not fasten off — put a marker in the working loop.
Make the lining now. Fold the fabric double with right sides together, lay the bag on it and trace around every edge, leaving about 1 cm of seam allowance. Cut it out and sew along the bottom curve with a straight machine stitch, or a backstitch by hand. Set aside.
- R3: back in the working loop, ch 1, SC in each stitch around starting in the same stitch as the join, sl st to the first SC.
Decide where the zip will start and end, and mark both points — 40 stitches apart in the original.
- R4 (zipper opening): ch 1, SC in each stitch up to the first marker, skip every stitch between the markers and chain the same number of chains, then SC in each stitch to the end, sl st to the first SC.
- R5: ch 1, SC in each stitch around, working into each chain rather than into the chain space, sl st to the first SC.
- R6: ch 1, SC in each stitch around, sl st to the first SC. Fasten off.
- R7: with the front of the bag facing you, pull up a loop of C5 at the far right corner, ch 1, SC in each stitch around, sl st to the first SC.
Put a marker in the working loop and install the zip and the lining before the last step.
Zipper, lining and strap
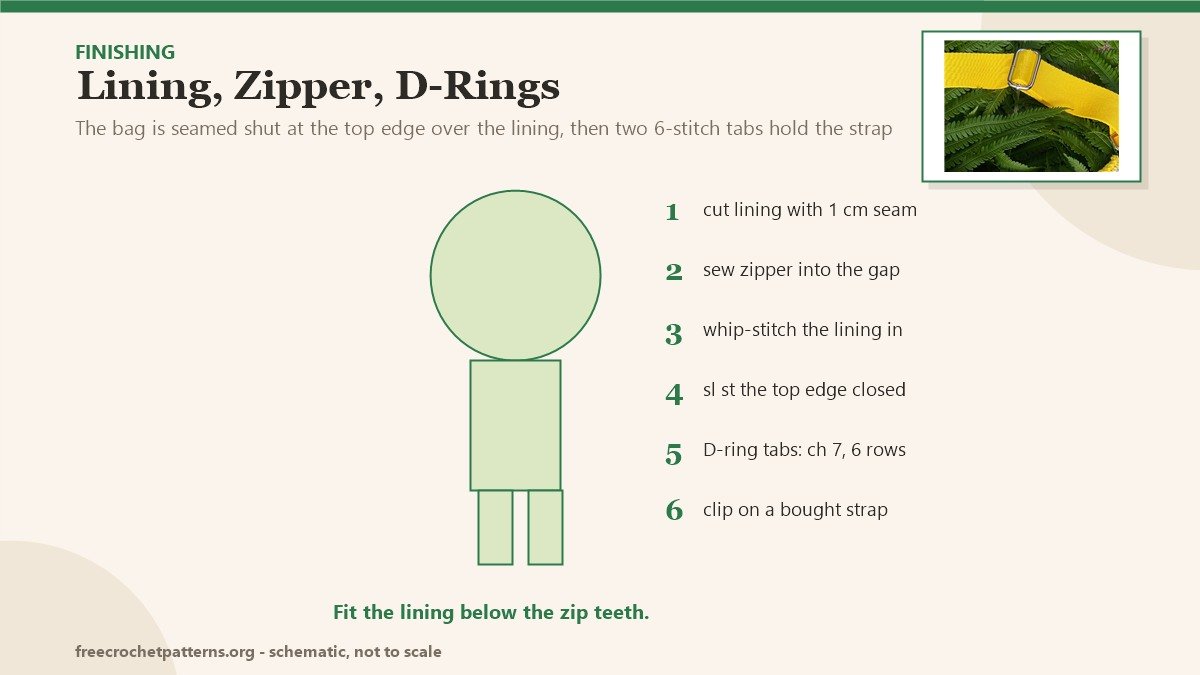
- Zip: stitch the top and bottom ends of the zip closed if they are not already, so it cannot separate. Pin it into the opening, and with the right side facing, backstitch it to the crochet close to the teeth — close, but leaving room for the pull to pass. From the wrong side, whip-stitch around the zip tape to fix it to the inside.
- Lining: with the wrong side of the lining facing out, slip it into the bag and fold the raw top edge outward by about 1 cm. The fold should sit level with the top of the first C4 round of the border, just below the teeth. Pin and whip-stitch the folded edge to the inside.
- Close the top: fold the bag flat with the working loop at the fold, put the hook back in the loop and slip stitch through both layers to seam the top edge. Fasten off and weave in.
- D-ring tabs (make 2): with C4, ch 7. R1: SC in each chain working into the bottom of the chain — 6 stitches. R2–6: ch 1, turn, SC in each stitch. Fasten off leaving a long tail.
- Attach: pass one end of a tab through a D-ring, line the ends up and sew both layers to the back of the bag along one side of the top border. Sew right up against the D-ring so it cannot spin. Repeat, then clip on the strap.
Notes
The joining HDC at the end of every square round is what makes the corner spaces line up. Because it sits in the corner, the next round’s corner space is the space it leaves — not the ch-2 space you crocheted into. Work into the right one and the square stays square; work into the other and it grows a spiral.
On the flower square, R4 encases the ch-12 loops from R3. That is deliberate: the long chains become the petal outline, and the stitches work over them so they disappear into the fabric.
The border is worked in single crochet on a 4 mm hook with worsted cotton, so it is firm — firm enough to hold a zip without a fabric facing behind it. If you substitute a softer yarn, add a strip of interfacing behind the zip opening.
Notes on size
Total circumference is the distance from D-ring to D-ring plus the strap, so a bought strap that only adjusts to 100 cm may be too long for a belt-style fit on a slim wearer. Shortening it means taking one end out of the buckle, cutting, sealing the cut end and sewing the buckle back on.
More bags: Slice Handbag in Cord is the shaped one worked in cord, and Pig in a Granny Square Blanket uses the same square construction for a different purpose. Everything is on the patterns page.
Pattern source: Floral Crossbody Bag by Brenda K. B. Anderson.
If you prefer a bag made of granny squares rather than shaped wings, Butterfly Bag is the opposite approach entirely.
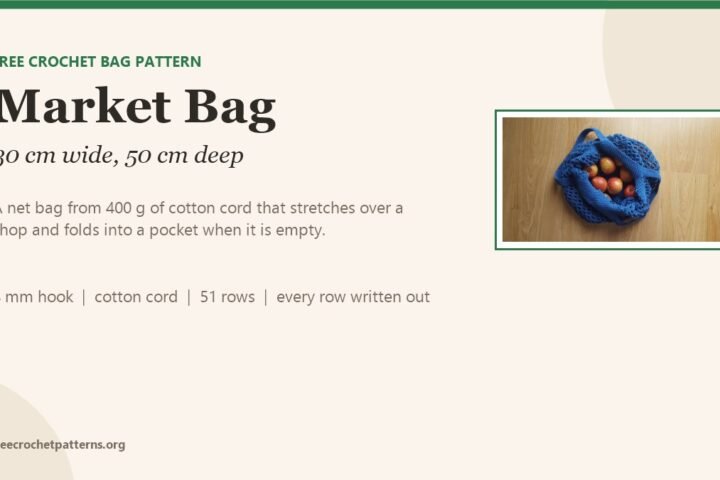
For a bag that folds into nothing, Crochet Market Bag is pure net above a double crochet base.

3 comments