
These are the smallest pumpkins on the site: a ribbed rectangle of 24 rows, seamed into a tube, gathered at both ends and pulled into shape with a few passes of yarn through the middle. One takes about forty minutes, they use almost no yarn, and they look best in threes.
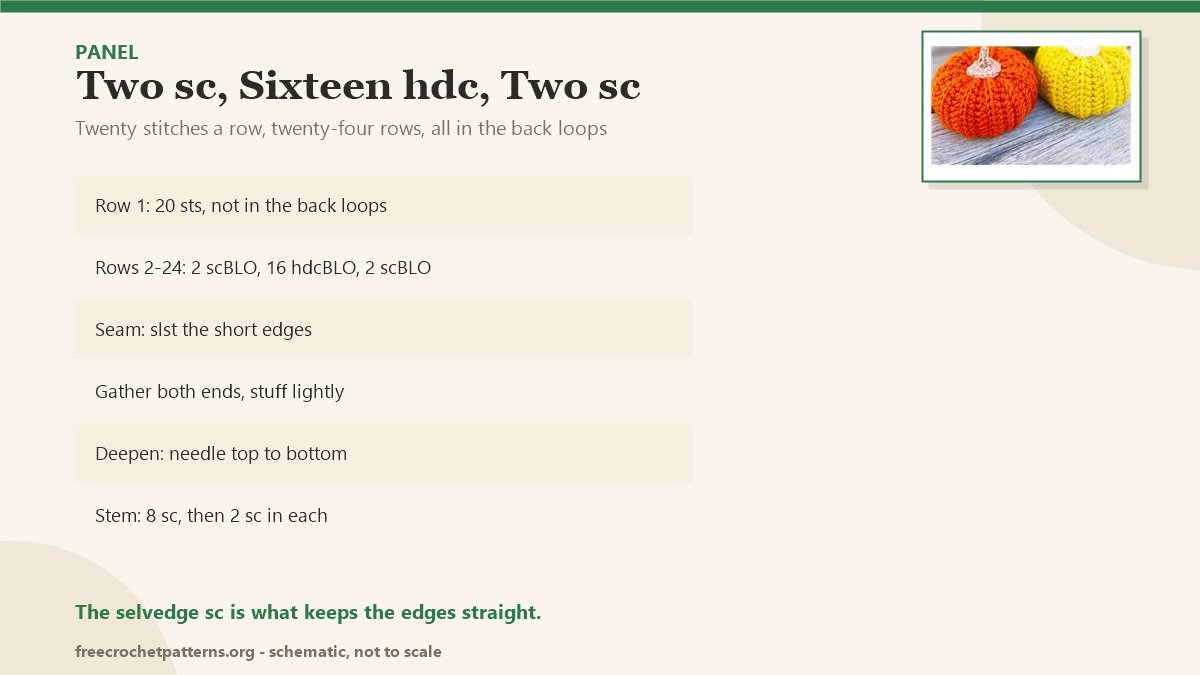
The rib comes from working every row in the back loops with a mix of single and half double crochet: two single crochet at each selvedge, sixteen half double crochet in the middle. That is the whole trick, and it is why the pumpkin has vertical ridges without a single increase.
Every row is written out below, plus the stem and the seaming.

What you need
- Yarn: worsted weight in two colours (orange and cream, or yellow and cream)
- Hook: 3.75 mm
- Notions: poly-fil, tapestry needle, scissors
Abbreviations
- ch chain, st stitch, slst slip stitch
- sc single crochet, hdc half double crochet
- scBLO single crochet in the back loop only, hdcBLO half double crochet in the back loop only
Pumpkin
Ch 21.
- Row 1: sc in the second chain from the hook, sc in the next chain, hdc in each of the next 16 chains, sc in each of the last 2 chains, ch 1, turn (20)
- Rows 2–24: scBLO in each of the first 2 stitches, hdcBLO in each of the next 16 stitches, scBLO in each of the last 2 stitches, ch 1, turn (20)
Row 24 is the last row: finish it and go straight to the seaming, without turning.
Stem
- Magic ring: 8 sc, join with slst, ch 1 (8)
- Round 1: 2 sc in each stitch, join with slst (16)
Do not finish off. Ch 8, then slst in the second chain from the hook and in the next 3 chains. Fasten off, leaving a long tail, and pull the stem through the centre of the circle.
Seaming
- Fold the rectangle so the two short edges meet and slst them together. Fasten off, leaving a long tail.
- Turn the piece right side out, so the seam is on the inside.
- With the tapestry needle, weave in and out along the single crochet stitches of the open end, then gather tightly and fasten off.
- Stuff the pumpkin — do not overstuff, the ribs need room.
- Gather the other end the same way and pull tight.
- Pass the needle from top to bottom a few times to deepen the pumpkin shape.
Finishing
Weave the stem on: thread the long tail from the stem down through the centre of the pumpkin, out the bottom, and back up twice. That is enough to hold it upright without any sewing. Trim the tail inside.
If you want a longer stem, chain 10 instead of 8 before the slip stitches — the bend is made by the chain, not by the yarn.

Notes
Row 1 is the only row that is not worked in the back loops, which is what gives the rectangle a straight lower edge. If your pumpkin leans, you gathered the top and bottom off-centre: undo the gather and count the stitches again, 20 each time.
More autumn makes: the sculpted pumpkin with a bent stem is the big version of this idea, Mini Pumpkin Man is the velvet character, and Pumpkin Bunny is the plush one. Everything is on the patterns page.
Pattern source: small ribbed pumpkin, as shared by the original designer on the amigurumi pattern blogs.
A dense fabric from back-loop rows: Slice Handbag, 4 mm cord and a 5.5 mm hook.


