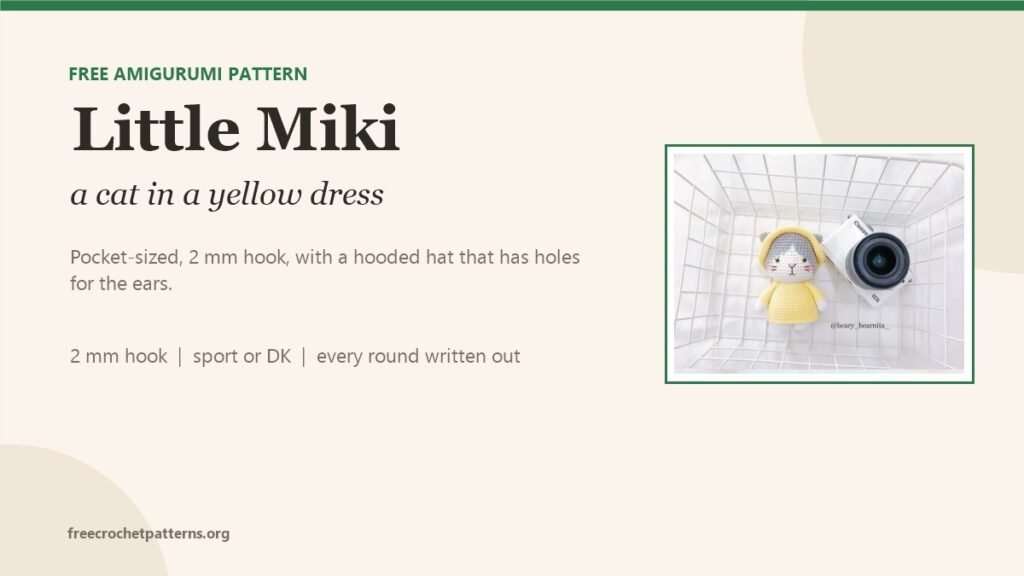
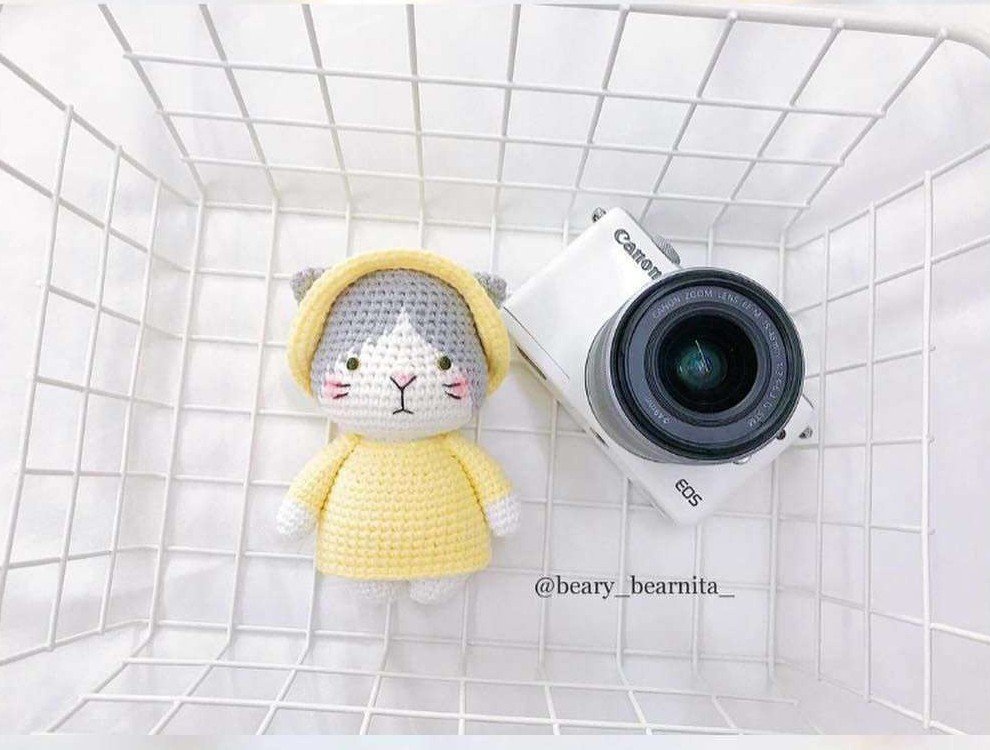
Little Miki fits in the palm of your hand. She is a white cat with grey patches, a yellow dress that flares at the hem, and a hooded hat with two holes so her ears can poke through. The whole thing is about 4 inches tall with a 2 mm hook, which makes her the sort of project you finish in an evening and then keep on your desk.
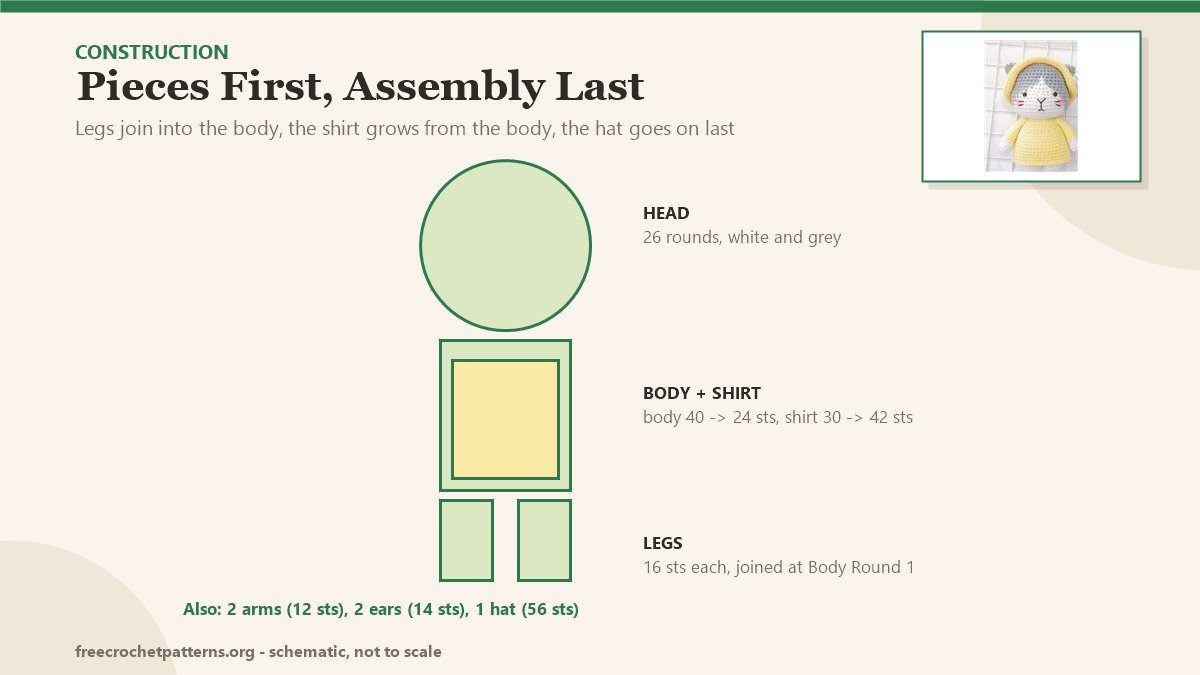
The construction is friendlier than it looks. The head is worked top down with the grey and the white carried together, the legs join into the body, and the dress is crocheted straight out of the body’s last round. Nothing is sewn until the very end.
Every round is written out below with its colour changes, including the waist shaping and the hat’s ear holes. Nothing is summarised.
.
What you need
- Yarn: sport or DK light weight (I used YarnArt Jeans) in white, grey and yellow
- Hook: 2 mm to 2.5 mm
- Safety eyes: 5 mm
- Notions: black embroidery thread, fibrefill, yarn needle, scissors
Abbreviations
- MR magic ring
- sc single crochet, hdc half double crochet, slst slip stitch
- inc increase (2 sc in one stitch), dec invisible decrease
- BLO back loop only
- Rnd round
.
Head
Start in white and keep the tension tight — the colour work shows every loose stitch.
- Rnd 1: 8 sc in MR (8)
- Rnd 2: 8 inc (16)
- Rnd 3: (sc, inc) x8 (24)
- Rnd 4: BLO (2 sc, inc) x8 (32)
- Rnd 5: (3 sc, inc) x2, (sc, inc) x7, change to grey (sc, inc), change to white (3 sc, inc) x2 (44)
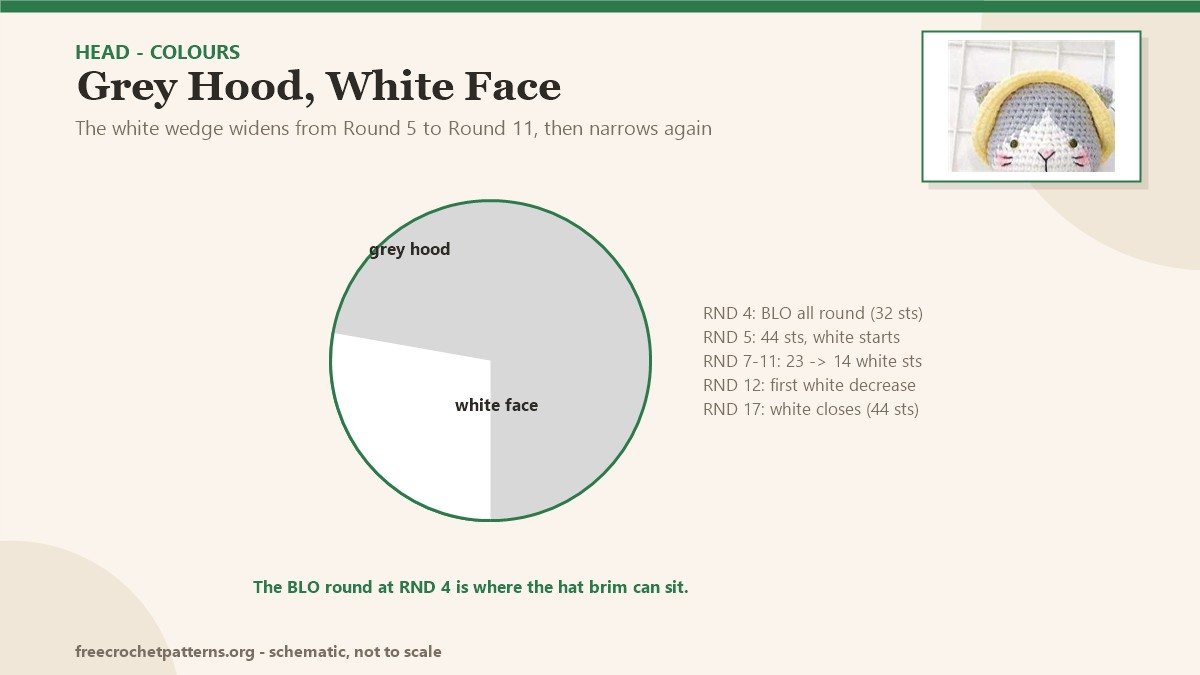
From here the round is split into three blocks: grey, white, grey. Read the counts in that order.
- Rnd 6: grey 10 sc, white (2 sc, inc) x6, 2 sc, grey inc, 2 sc, inc, 9 sc, inc (53)
- Rnd 7: grey 12 sc, white 23 sc, grey 18 sc (53)
- Rnd 8: grey 14 sc, white 20 sc, grey 19 sc (53)
- Rnd 9: grey 15 sc, white 18 sc, grey 20 sc (53)
- Rnd 10: grey 16 sc, white 16 sc, grey 21 sc (53)
- Rnd 11: grey 17 sc, white 14 sc, grey 22 sc (53)
The colour map
The white wedge is the face. It grows narrower by two stitches every round from Rnd 11, which is what gives the head its hooded look.
- Rnd 12: grey 13 sc, dec, 3 sc, white 5 sc, dec, 5 sc, grey 3 sc, dec, 18 sc (50)
- Rnd 13: grey 12 sc, dec, 4 sc, white 3 sc, dec, 4 sc, grey 3 sc, dec, 17 sc (47)
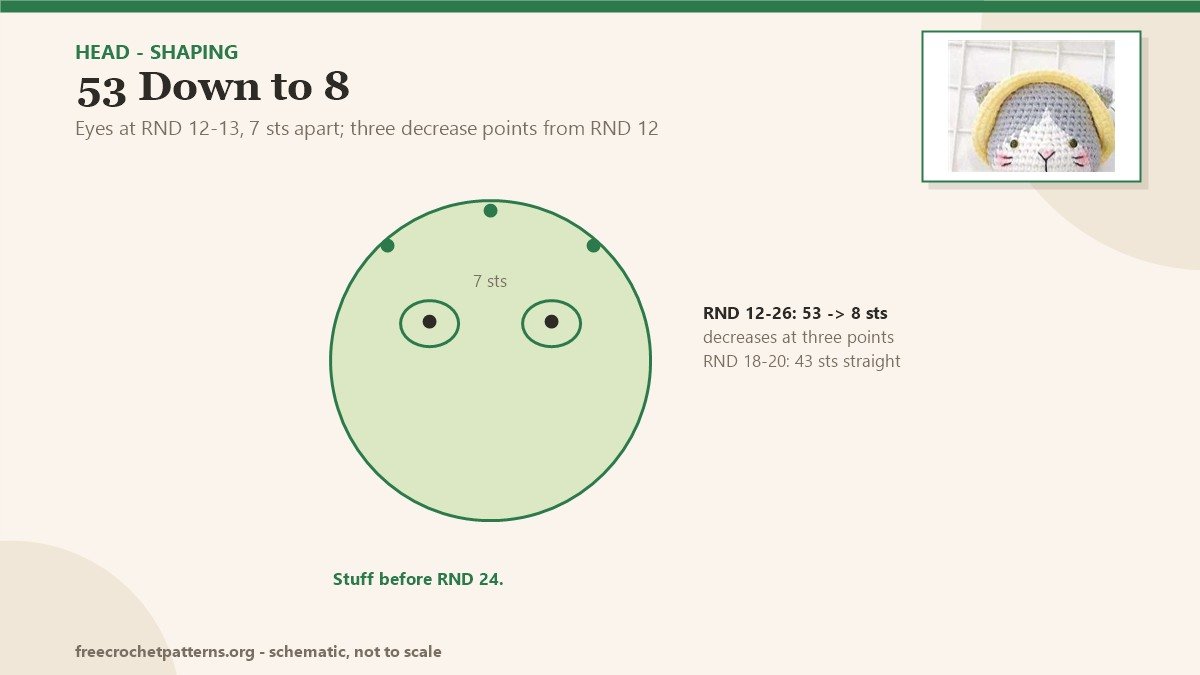
Insert the 5 mm safety eyes between Rnd 12 and Rnd 13, about 7 stitches apart. Everything after this point closes the head, so the eyes are much harder to place later.
.
Closing the head
- Rnd 14: grey 11 sc, dec, 5 sc, white 6 sc, grey 5 sc, dec, 16 sc (45)
- Rnd 15: grey 18 sc, white 4 sc, grey 23 sc (45)
- Rnd 16: grey 19 sc, white 2 sc, grey 24 sc (45)
- Rnd 17: grey 19 sc, white dec, grey 24 sc (44)
- Rnd 18–20: 43 sc (43) — 3 rounds
- Rnd 21: (9 sc, dec) x3 (40)
- Rnd 22: 40 sc (40)
- Rnd 23: (3 sc, dec) x8 (32)
- Rnd 24: (2 sc, dec) x8 (24)
- Rnd 25: (sc, dec) x8 (16)
- Rnd 26: 8 dec (8)
Cut the yarn and weave in the end. Stuff the head firmly before the opening gets too small — Rnd 24 is the last comfortable moment.
.
Arms (make 2)
- Rnd 1: 6 sc in MR (6)
- Rnd 2: 6 inc (12)
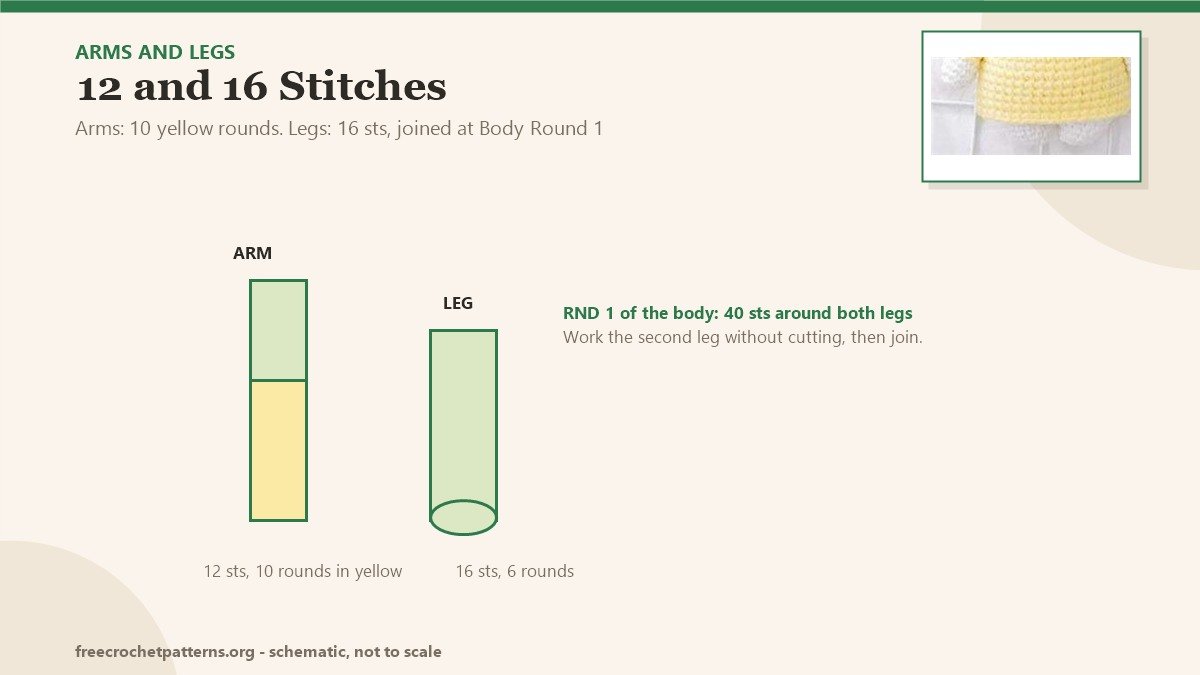
- Rnd 3–5: 12 sc (12) — 3 rounds, in white
- Rnd 6–15: change to yellow, 12 sc (12) — 10 rounds
Cut the yarn and leave a long tail for sewing. Stuff lightly — a fat arm looks wrong on a cat this small.
Legs (make 2)
- Rnd 1: 6 sc in MR (6)
- Rnd 2: 6 inc (12)
- Rnd 3: 12 sc (12)
- Rnd 4: (2 sc, inc) x4 (16)
- Rnd 5–6: 16 sc (16) — 2 rounds
Cut the yarn on the first leg. Make the second leg the same way through Rnd 6, then do not cut — you join the first leg and carry straight on into the body.
.
Body
- Rnd 1: (3 sc, inc) x8 around both legs (40)
- Rnd 2: 10 sc, inc, 18 sc, inc, 10 sc (42)
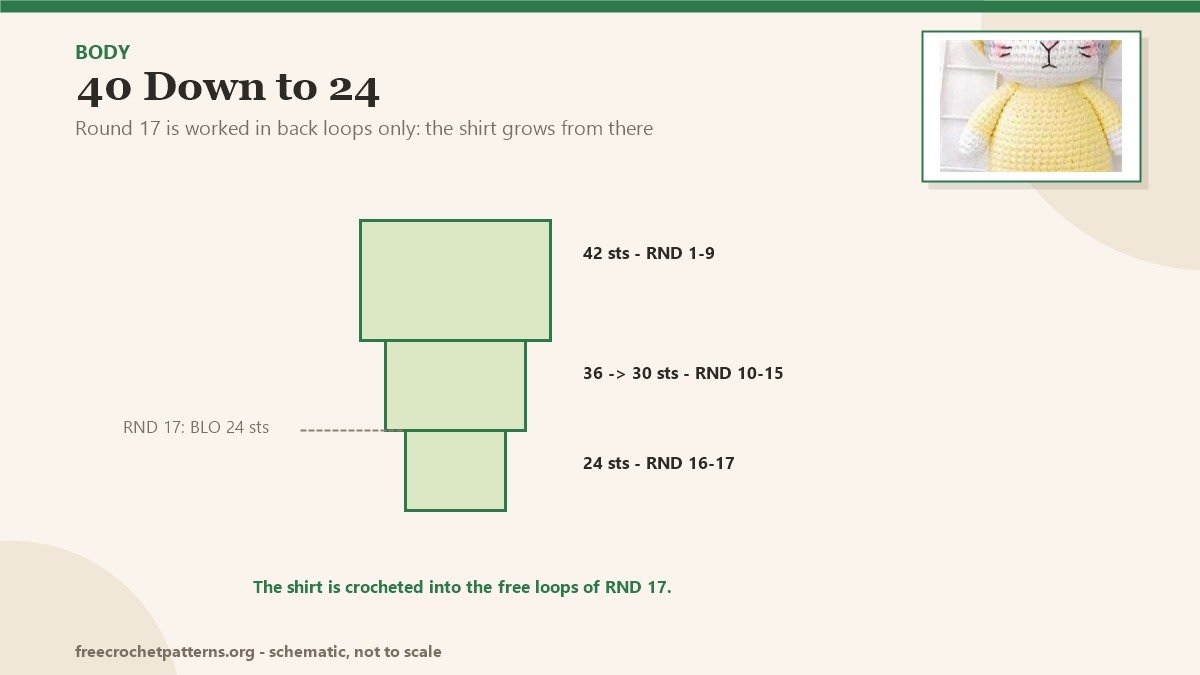
- Rnd 3–9: 42 sc (42) — 8 rounds
- Rnd 10: (5 sc, dec) x6 (36)
- Rnd 11–12: 36 sc (36) — 2 rounds
- Rnd 13: (4 sc, dec) x6 (30)
- Rnd 14–15: 30 sc (30) — 2 rounds
- Rnd 16: (3 sc, dec) x6 (24)
- Rnd 17: BLO 24 sc (24)
Cut the yarn and leave a long tail. That back-loop round is the hinge of the whole doll: the dress is crocheted into the loops you left free.
.
Shirt
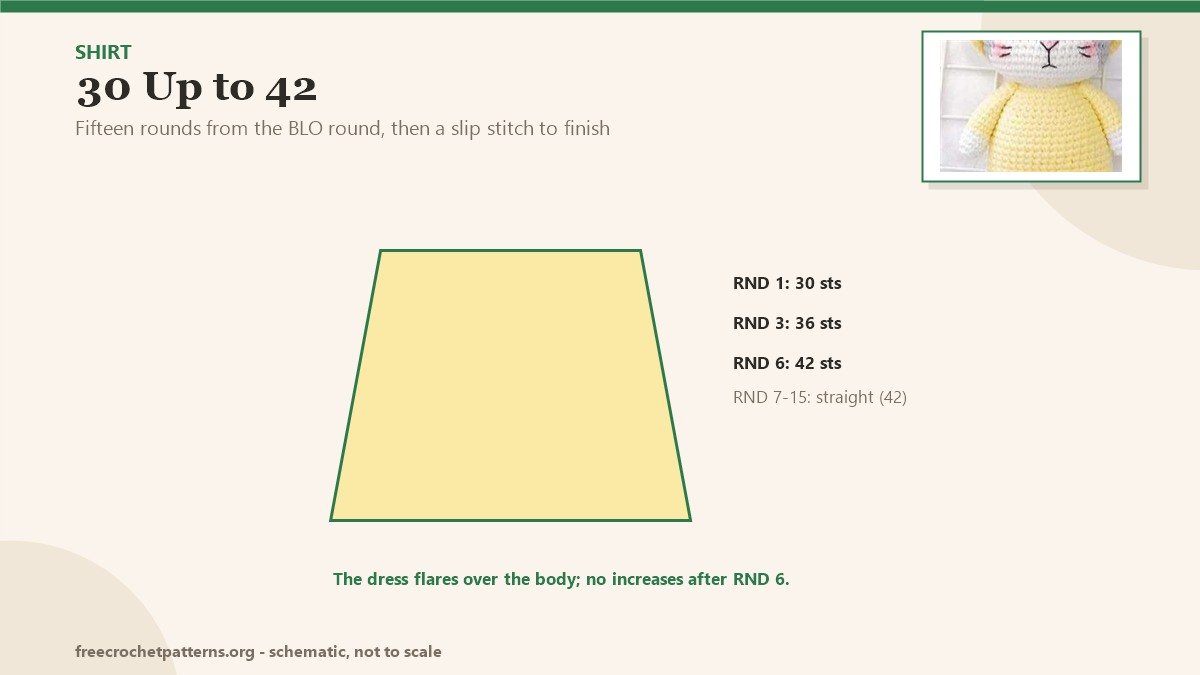
Find the front loops of Body Rnd 17, attach yellow and work upwards around the body.
- Rnd 1: (3 sc, inc) x6 (30)
- Rnd 2: 30 sc (30)
- Rnd 3: (4 sc, inc) x6 (36)
- Rnd 4–5: 36 sc (36) — 2 rounds
- Rnd 6: (5 sc, inc) x6 (42)
- Rnd 7–15: 42 sc (42) — 9 rounds
Finish with a slst, cut the yarn and weave in the end. The dress should sit over the body without pulling; if it looks tight, go up half a hook size for the shirt only.
.
Ears (make 2)
Grey, in a spiral.
- Rnd 1: 4 sc in MR (4)
- Rnd 2: 4 inc (8)
- Rnd 3: (3 sc, inc) x2 (10)
- Rnd 4: (4 sc, inc) x2 (12)
- Rnd 5: (5 sc, inc) x2 (14), slst
Cut the yarn and leave a long tail. Do not stuff the ears — flat is right.
Hat
Worked in the round, then in hdc for the brim.
- Rnd 1: 8 sc in MR (8)
- Rnd 2: 8 inc (16)
- Rnd 3: (sc, inc) x8 (24)
- Rnd 4: (2 sc, inc) x8 (32)
- Rnd 5: sc, inc, (3 sc, inc) x7, 2 sc (40)
- Rnd 6: (4 hdc, inc) x8 (48)
- Rnd 7–8: 48 hdc (48) — 2 rounds
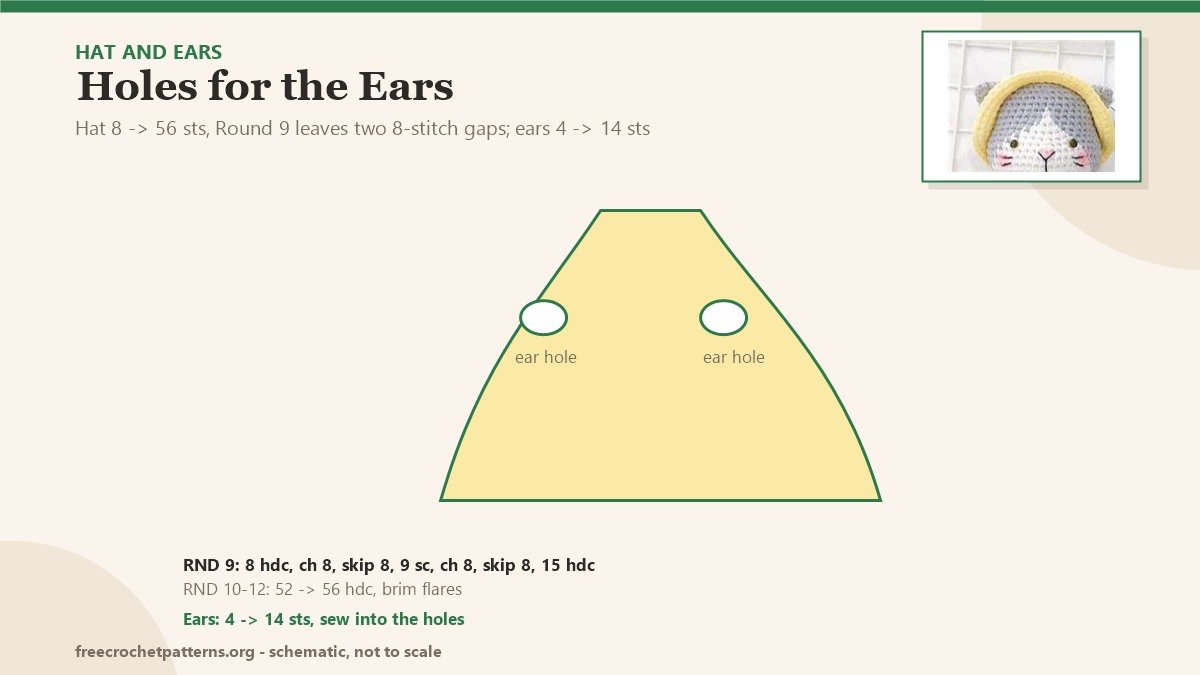
- Rnd 9: 8 hdc, ch 8, skip 8, 9 sc, ch 8, skip 8, 15 hdc (48)
- Rnd 10: 11 hdc, inc, (5 hdc, inc) x3, 18 hdc (52)
- Rnd 11: 12 hdc, inc, (6 hdc, inc) x3, 18 hdc (56)
- Rnd 12: 54 hdc, 2 sc, slst (56)
Rnd 9 is where the ears come through: the two chain-8 gaps become the holes, and the following rounds work into those chains to close them into a brim. Try the hat on the head before you fasten off — a millimetre of brim makes the difference between “hood” and “hat”.
.
Assembly
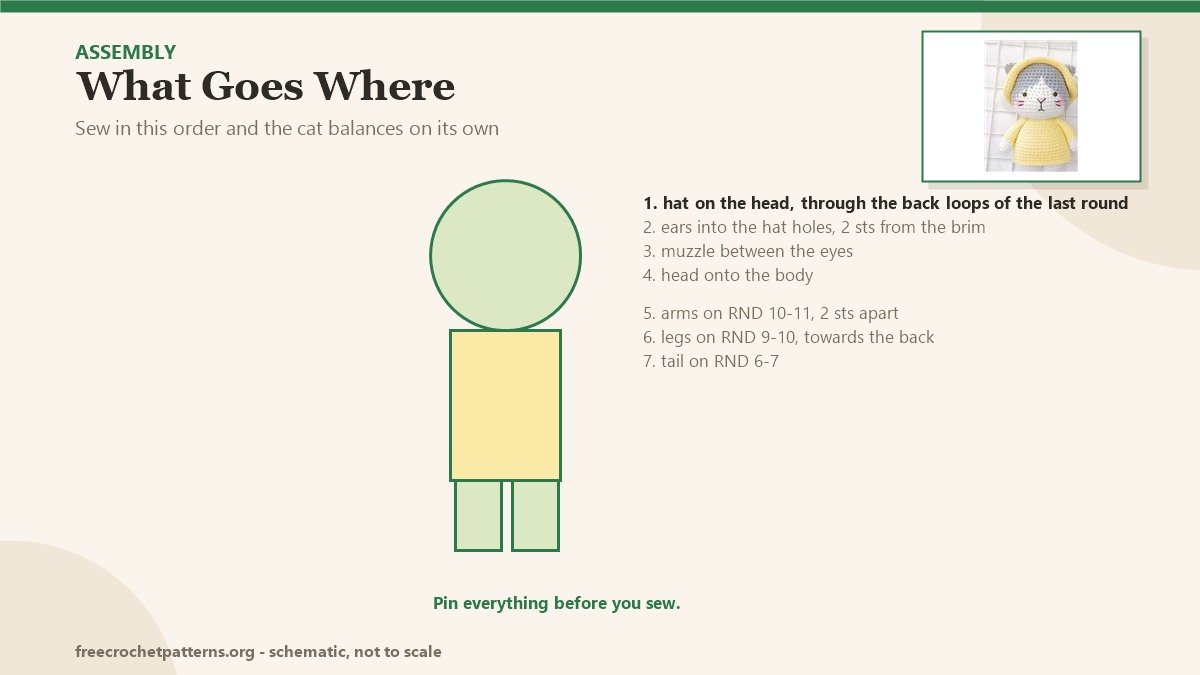
- Sew the hat to the head through the back loops of the last round.
- Sew the ears into the hat’s ear holes, about 2 stitches from the brim.
- Sew the muzzle between the eyes and embroider the nose and whiskers.
- Sew the head to the body.
- Sew the front paws between Rnd 10 and Rnd 11 of the body, about 2 stitches apart.
- Sew the legs between Rnd 9 and Rnd 10, towards the back so she can sit.
- Sew the tail between Rnd 6 and Rnd 7.
Pin every piece before you thread the needle. Miki is small enough that a two-stitch error is visible from across the table.
.
Small variations
The dress is the easiest thing to change: work the skirt a few rounds longer for a longer dress, or add a contrasting band at the hem. The hat can be left plain or given a tiny pompom. If you want the cat without the clothes, the body still works — just leave the shirt off and embroider the chest in white.
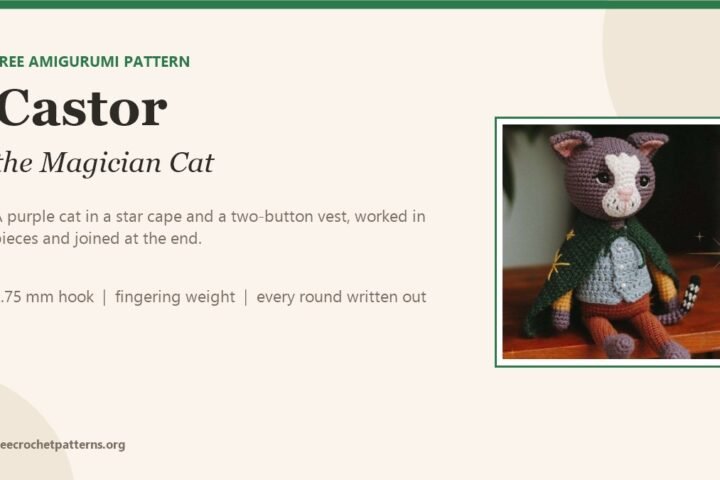
She sits nicely next to a bigger doll. If you want a large amigurumi built the same way, the Castor the Magician Cat uses the same order — pieces first, clothes last — and the 26-inch Grinch takes that idea to the other extreme. Every pattern on the site is listed on the patterns page.
Pattern source: Little Miki Cat, designed by @beary_bearnita.
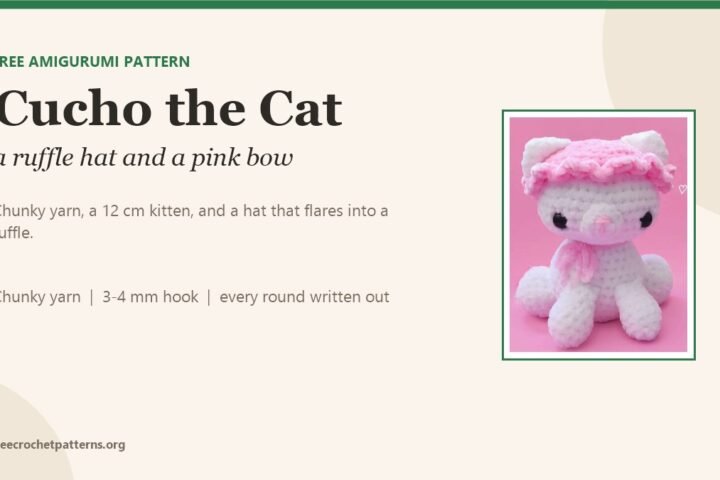
If you want the next size up, Cucho the Cat is a 12 cm kitten in a pink ruffled hat: same idea, fewer rounds, one very satisfying scalloped brim.
2 comments