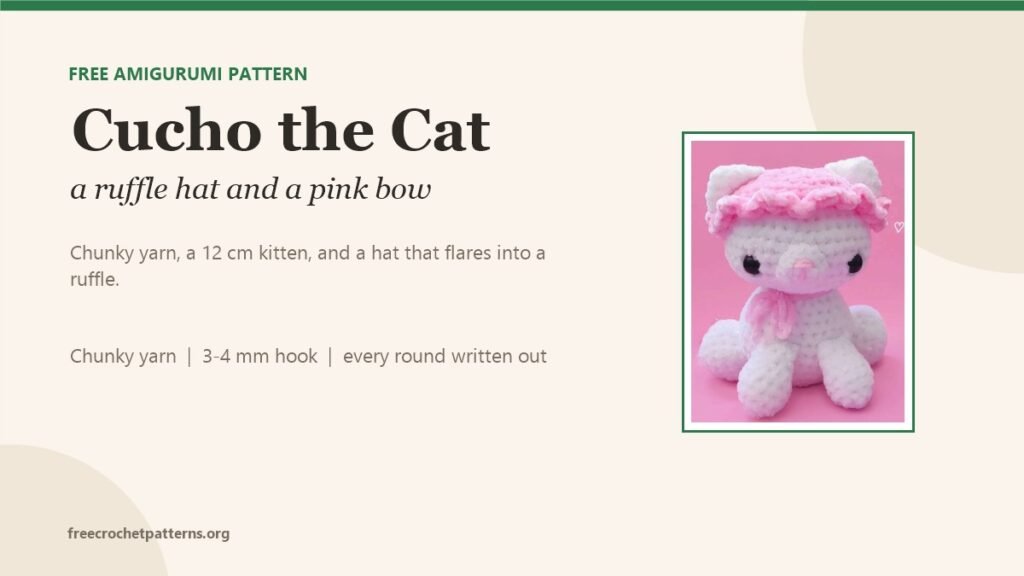
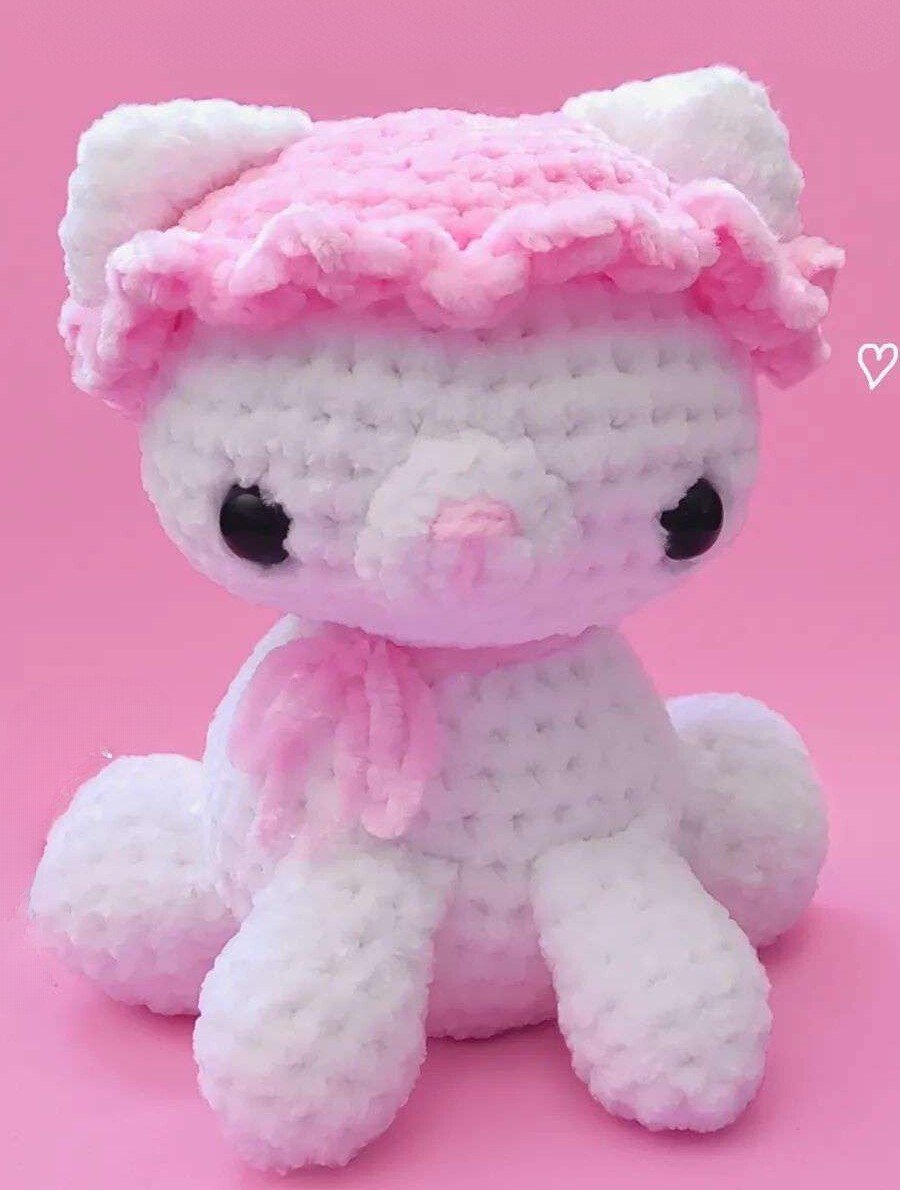
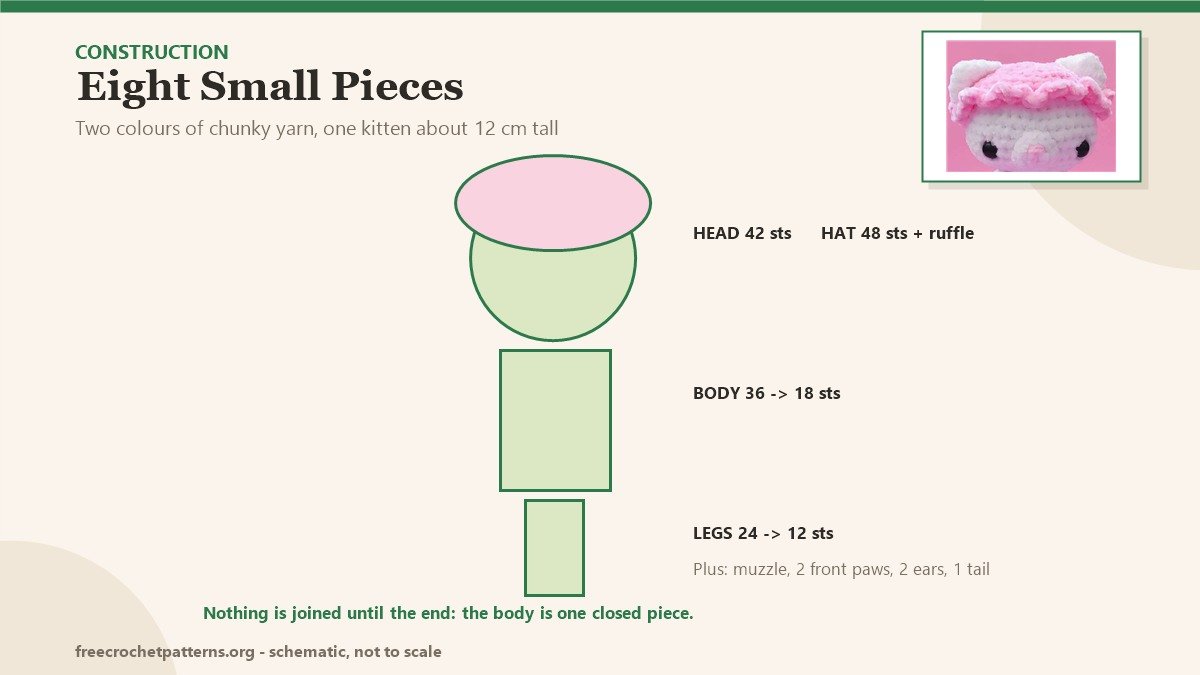
Cucho is a small white cat in a pink ruffled hat with a bow at the neck. He is about 12 cm (4.5 inches) tall in chunky yarn, sits on his own, and takes an evening and a half of work. The whole pattern is eight pieces — head, hat, body, muzzle, two front paws, two legs, two ears and a tail — sewn together at the very end.
What makes Cucho stand out is the hat. The crown is a plain dome of 48 stitches, then the last round is worked in the front loops only as (3 hdc, 1 slst) twenty-four times, which turns 48 stitches into 96 and gives that soft scalloped brim. It looks fussy and it is not: it is one row.
I have written every round out below, and I have also left the assembly order intact, because a cat this small lives or dies on where the head sits.
.
What you need
- Yarn: chunky (bulky) weight in two colours — white for the cat, pink for the hat and accents
- Hook: 3.5 mm to 4 mm, whatever gives you a tight fabric
- Safety eyes: 10 mm, or 8 mm if you crochet loosely
- Notions: black embroidery thread, polyfill, darning needle, scissors
Abbreviations
- MR magic ring
- sc single crochet, hdc half double crochet, slst slip stitch
- inc increase (2 sc in one stitch), dec decrease
- FLO front loop only, st stitch
- R round
All the pieces are worked in a continuous spiral unless a round says otherwise. Use a stitch marker.
.
Head
- R1: 6 sc in MR (6)
- R2: inc x6 (12)
- R3: (sc, inc) x6 (18)
- R4: (2 sc, inc) x6 (24)
- R5: (3 sc, inc) x6 (30)
- R6: (4 sc, inc) x6 (36)
- R7: (5 sc, inc) x6 (42)
- R8–13: sc around (42) — 6 rounds
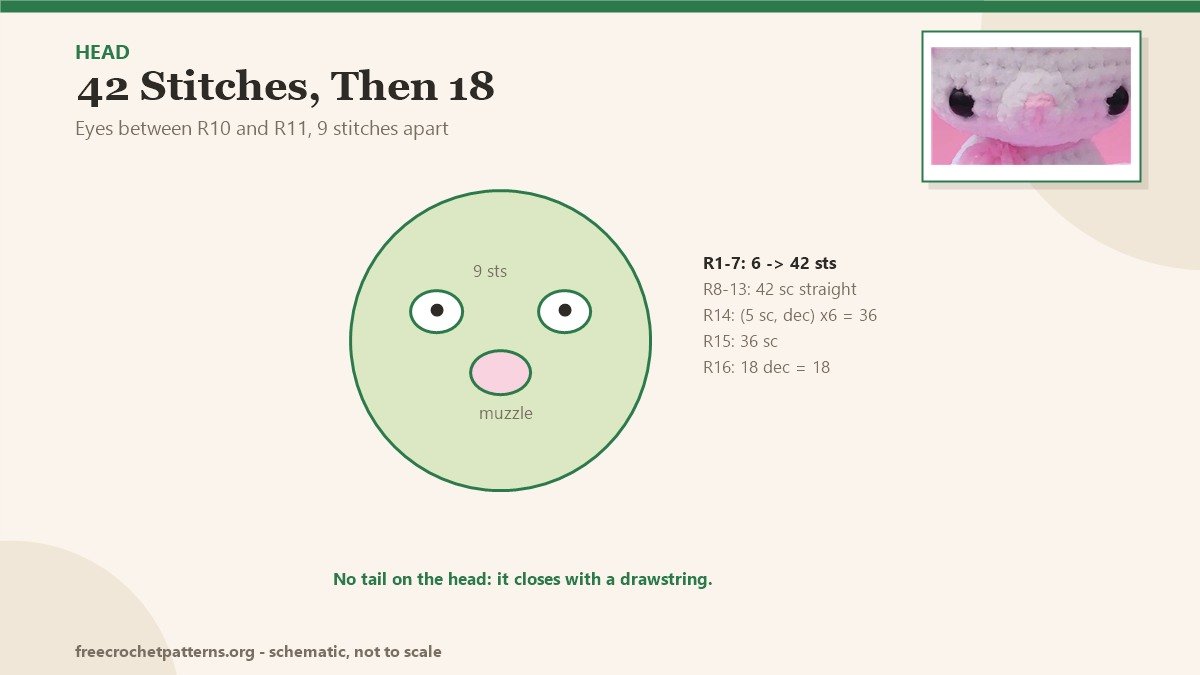
Insert the safety eyes between R10 and R11, 9 stitches apart. Start stuffing now — the head narrows quickly after this and it is much harder to get an even shape later.
- R14: (5 sc, dec) x6 (36)
- R15: sc all around (36)
- R16: dec all around (18)
Fasten off without a tail. Stuff the head firmly, then close the opening with a drawstring through the last 18 stitches.
.
Hat
- R1: 6 sc in MR (6)
- R2: inc x6 (12)
- R3: (sc, inc) x6 (18)
- R4: (2 sc, inc) x6 (24)
- R5: (3 sc, inc) x6 (30)
- R6: (4 sc, inc) x6 (36)
- R7: (5 sc, inc) x6 (42)
- R8: (6 sc, inc) x6 (48)
- R9–10: 48 sc (48) — 2 rounds
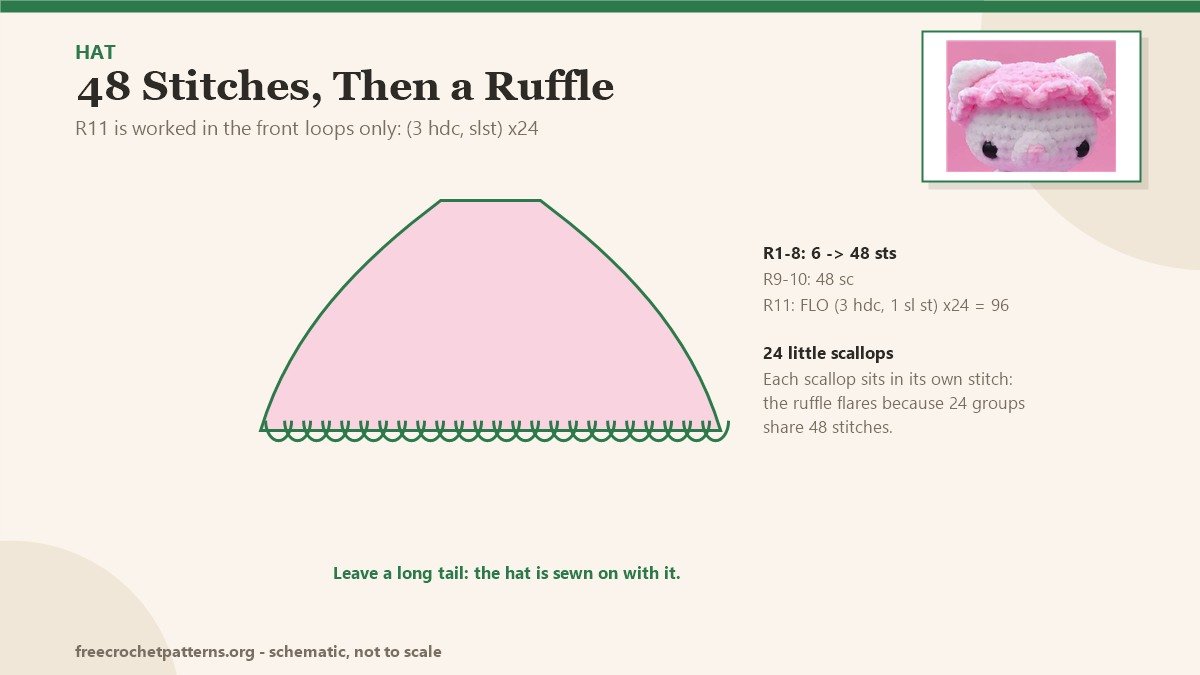
- R11: FLO, (3 hdc, 1 slst) x24 (96)
That last round is the ruffle. Work into the front loop of each stitch, three hdc then a slip stitch, and repeat all the way around: 24 little scallops, each one landing in two stitches of R10. Leave a long tail — the hat is sewn on with it.
.
Body
- R1: 6 sc in MR (6)
- R2: inc x6 (12)
- R3: (sc, inc) x6 (18)
- R4: (2 sc, inc) x6 (24)
- R5: (3 sc, inc) x6 (30)
- R6: (4 sc, inc) x6 (36)
- R7–10: 36 sc (36) — 4 rounds
- R11: (4 sc, dec) x6 (30)
- R12: 30 sc (30)
- R13: (3 sc, dec) x6 (24)
- R14: 24 sc (24)
- R15: (2 sc, dec) x6 (18)
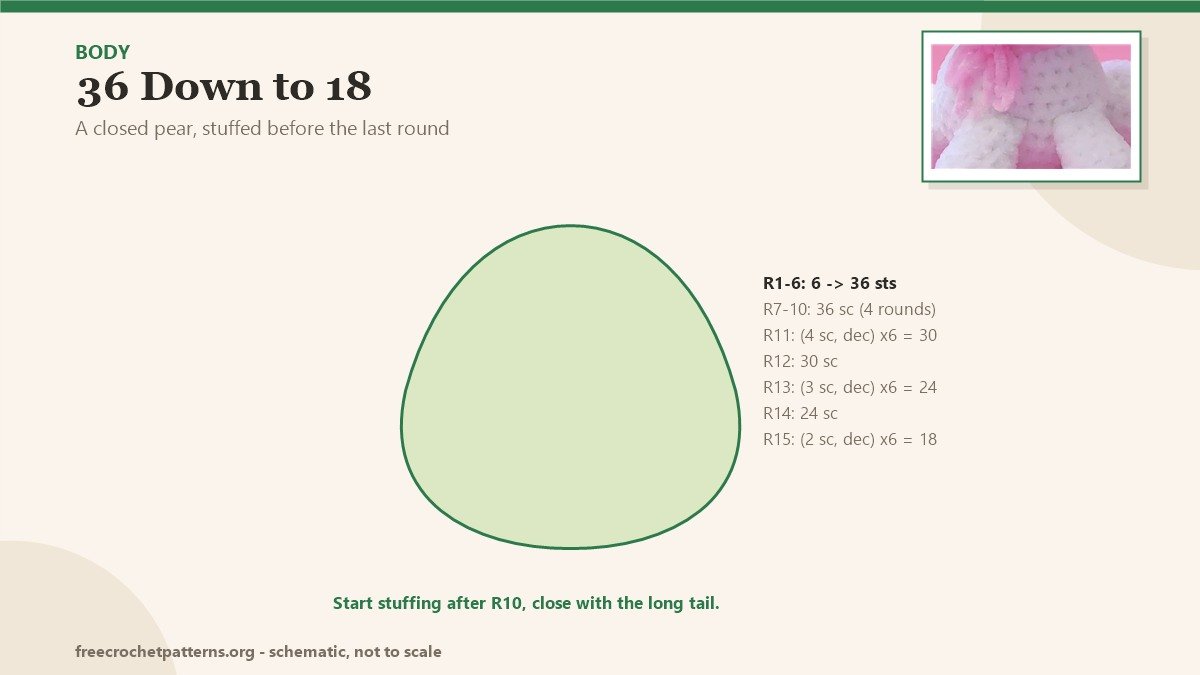
Start stuffing after R10, while the opening is still wide. Fasten off leaving a long tail: this tail closes the body and it is also what you will use to join the head.
.
Muzzle
- R1: 6 sc in MR (6)
- R2: inc all around (12)
Fasten off leaving a long tail, embroider a small triangle nose in the middle, and keep it aside. The muzzle is sewn between the eyes at the very end, once the head is joined — that way you can centre it on the finished face.
Front paws (make 2)
- R1: 6 sc in MR (6)
- R2: inc x6 (12)
- R3–5: 12 sc (12) — 3 rounds
- R6: (sc, dec) x4 (8)
- R7–8: 8 sc (8) — 2 rounds
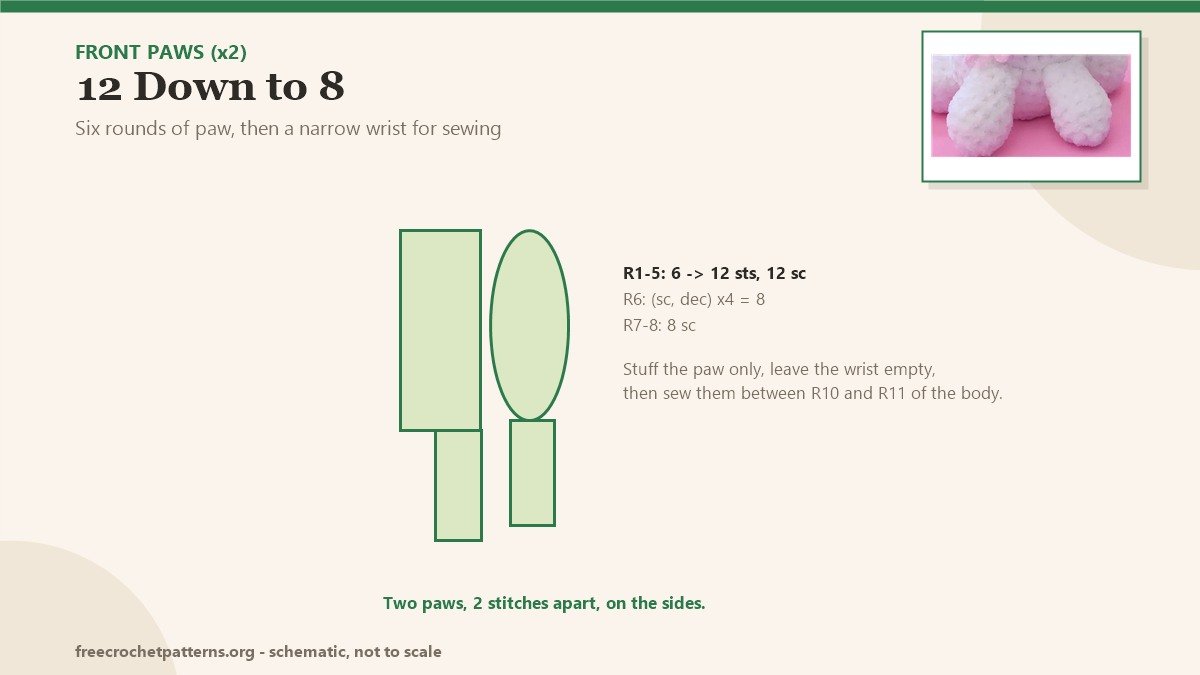
Stuff the paw only, leave the narrow wrist empty, and fasten off with a long tail. Both paws are sewn to the sides of the body between R10 and R11, about 2 stitches apart.
.
Legs (make 2)
- R1: 6 sc in MR (6)
- R2: inc x6 (12)
- R3: (1 st, inc) x6 (18)
- R4: (2 st, inc) x6 (24)
- R5: 24 sc (24)
- R6: (2 st, dec) x6 (18)
- R7: (1 st, dec) x6 (12)
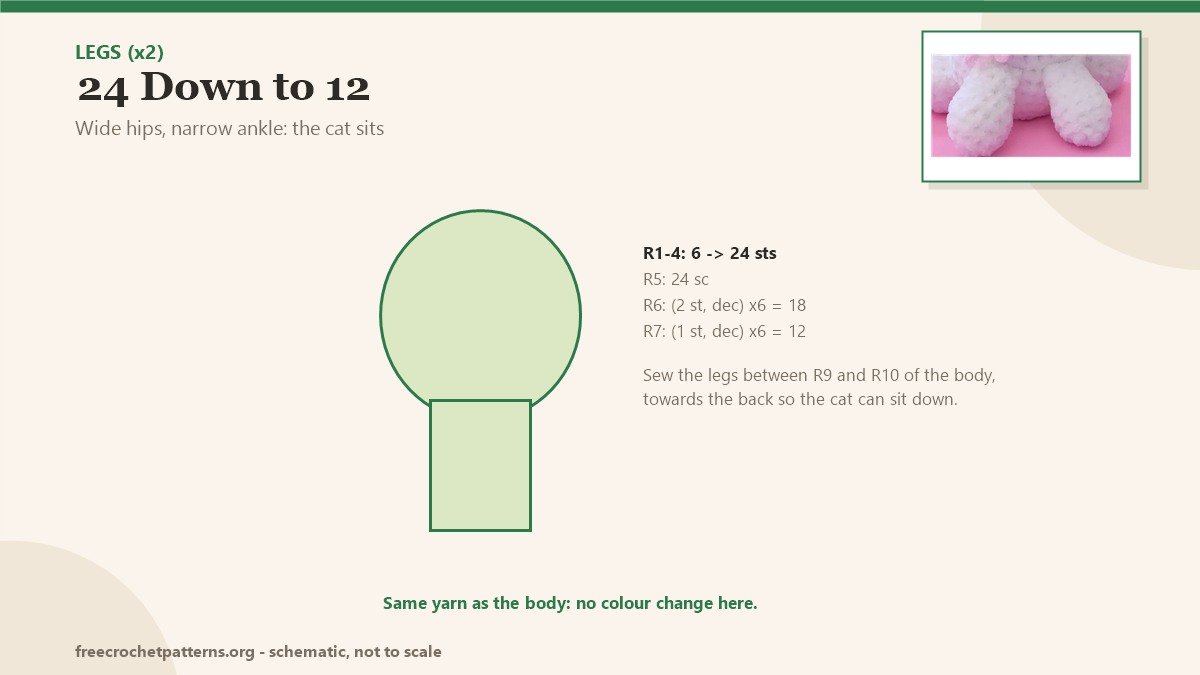
Stuff the leg well before R7 closes it. The legs go between R9 and R10 of the body, pushed slightly towards the back so the cat can sit without tipping forward.
.
Ears (make 2)
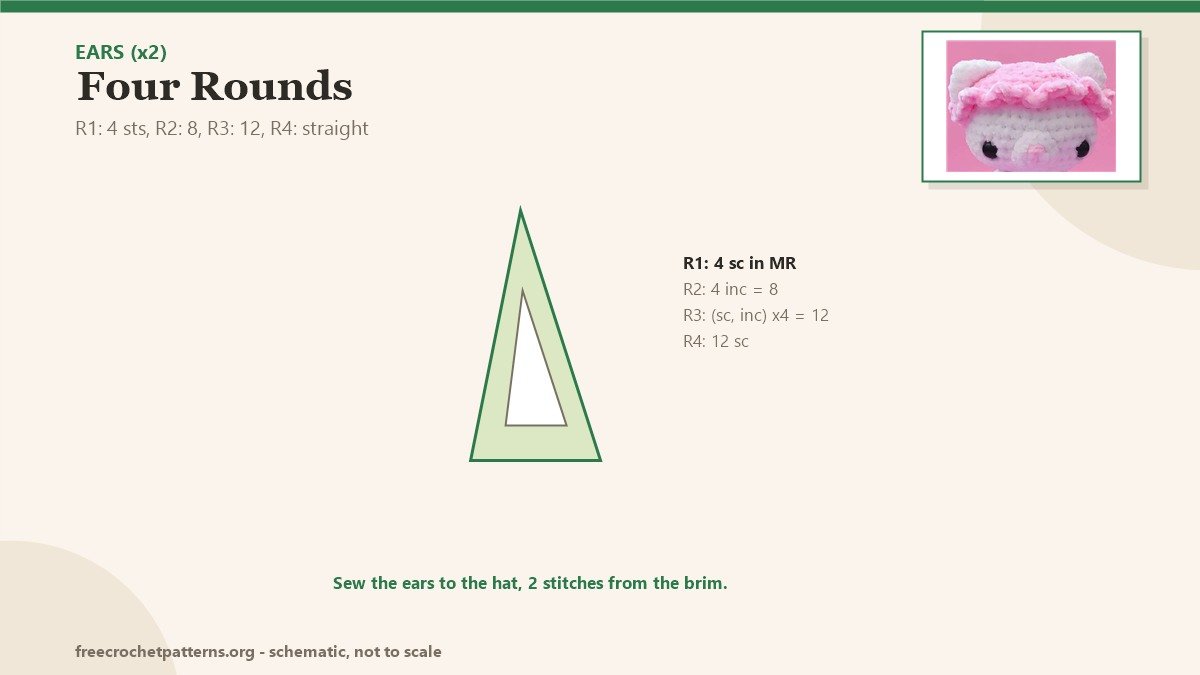
- R1: 4 sc in MR (4)
- R2: inc x4 (8)
- R3: (sc, inc) x4 (12)
- R4: 12 sc (12)
Fasten off with a long tail, do not stuff, and flatten the ear between your fingers before sewing. They sit on the hat, two stitches up from the brim, and they are what makes the hat read as a hat rather than a bowl.
.
Tail
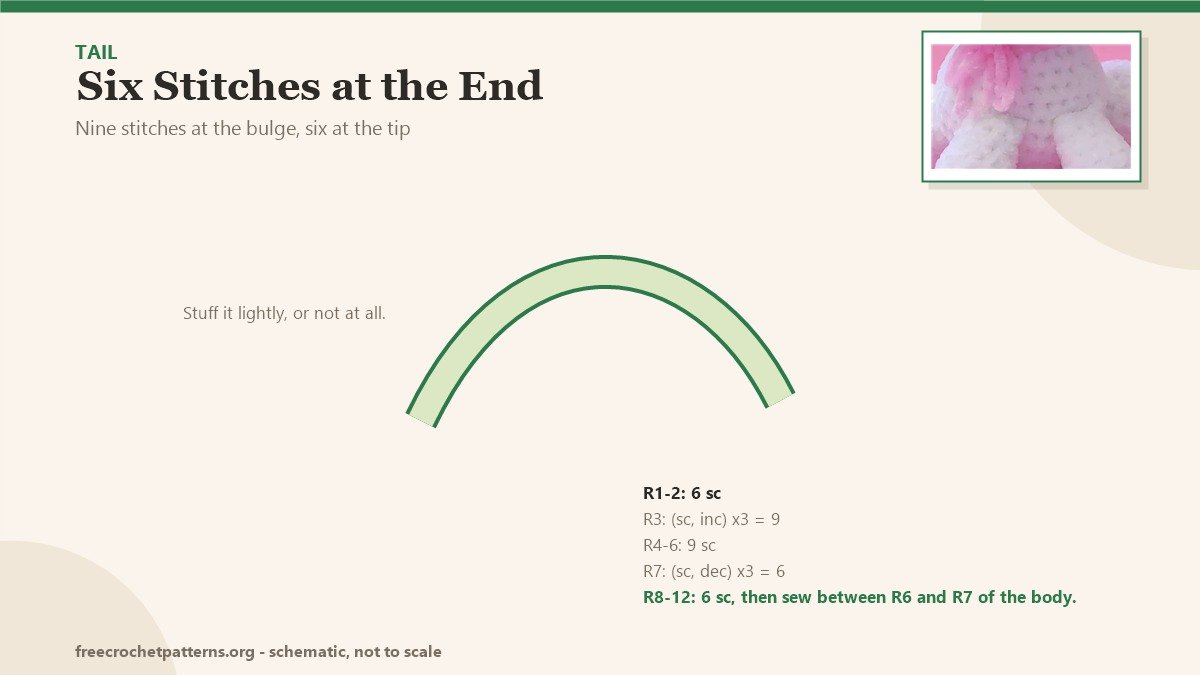
- R1: 6 sc in MR (6)
- R2: 6 sc (6)
- R3: (sc, inc) x3 (9)
- R4–6: 9 sc (9) — 3 rounds
- R7: (sc, dec) x3 (6)
- R8–12: 6 sc (6) — 5 rounds
Stuff it lightly, or not at all if you want it to curl. The tail is sewn between R6 and R7 of the body, low on the back.
.
Assembly
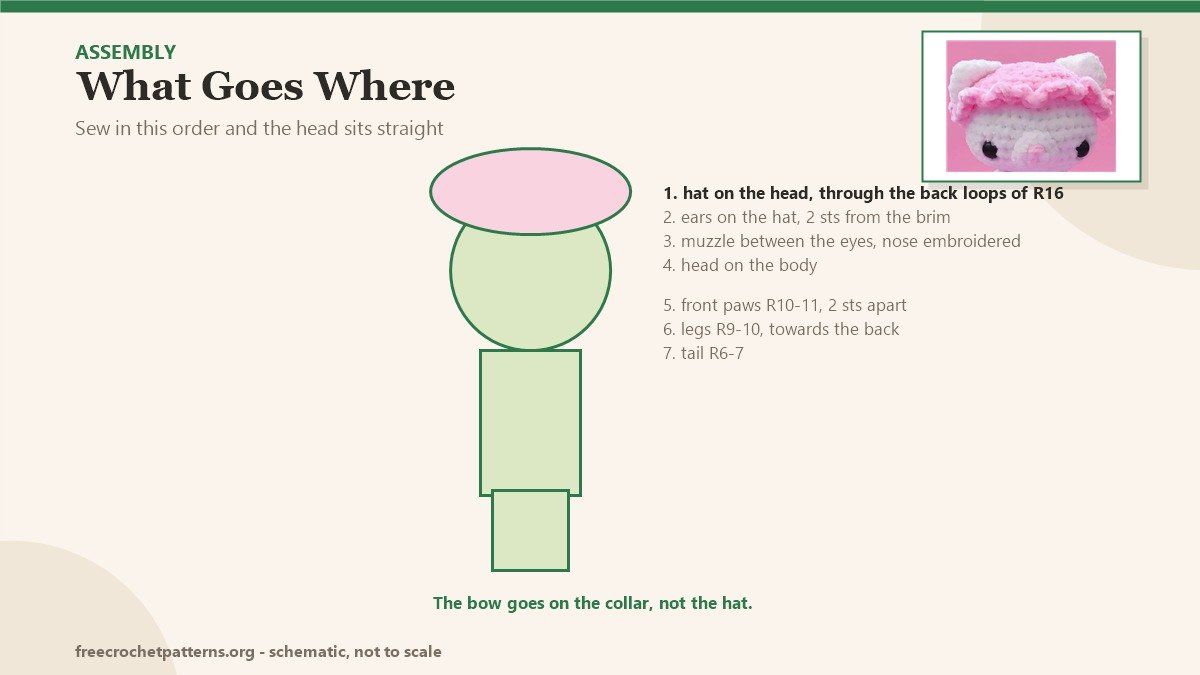
- Sew the hat to the head through the back loops of the head’s last round.
- Sew the ears to the hat, 2 stitches from the brim.
- Sew the muzzle between the eyes and embroider the nose and whiskers.
- Sew the head to the body.
- Sew the front paws between R10 and R11 of the body, 2 stitches apart.
- Sew the legs between R9 and R10 of the body, towards the back.
- Sew the tail between R6 and R7 of the body.
- Finish with the bow, tied or sewn at the neck.
Pin everything first. On a 12 cm cat, a head that is half a stitch off is visible from across the room, and unpicking a sewn head is the least pleasant part of this hobby.
.
Small variations
The hat is the piece to play with: work R11 in the back loops instead for a flat brim, or skip the ruffle entirely for a beanie. The bow can go on the hat, on the tail, or be left off. In a lighter yarn with a 2.5 mm hook the same pattern gives a cat around 8 cm, which is the size most people keep on a shelf.
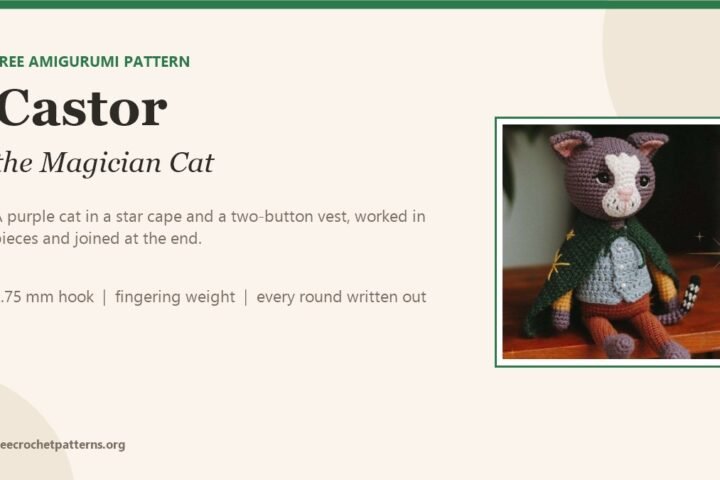
Cucho is the smallest of the cats on this site. If you want a bigger one, Little Miki Cat is a 4-inch cat with a hooded hat, Castor the Magician Cat is a full-size doll with a cape, and the 26-inch Grinch is what happens when you take the same construction and keep going. Every pattern is listed on the patterns page.
Pattern source: Cucho the Cat, designed by @cocoa-loops.
1 comment