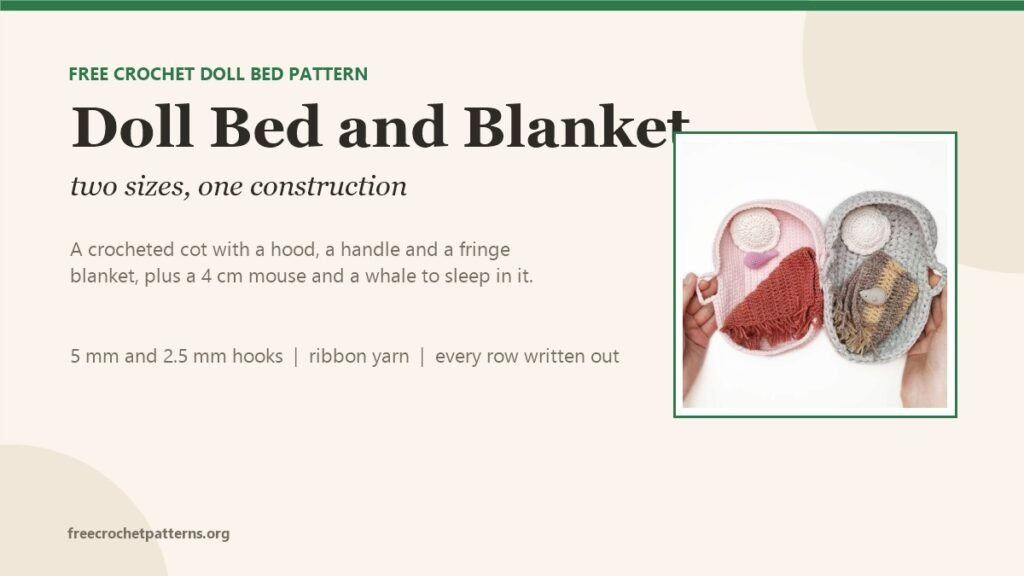
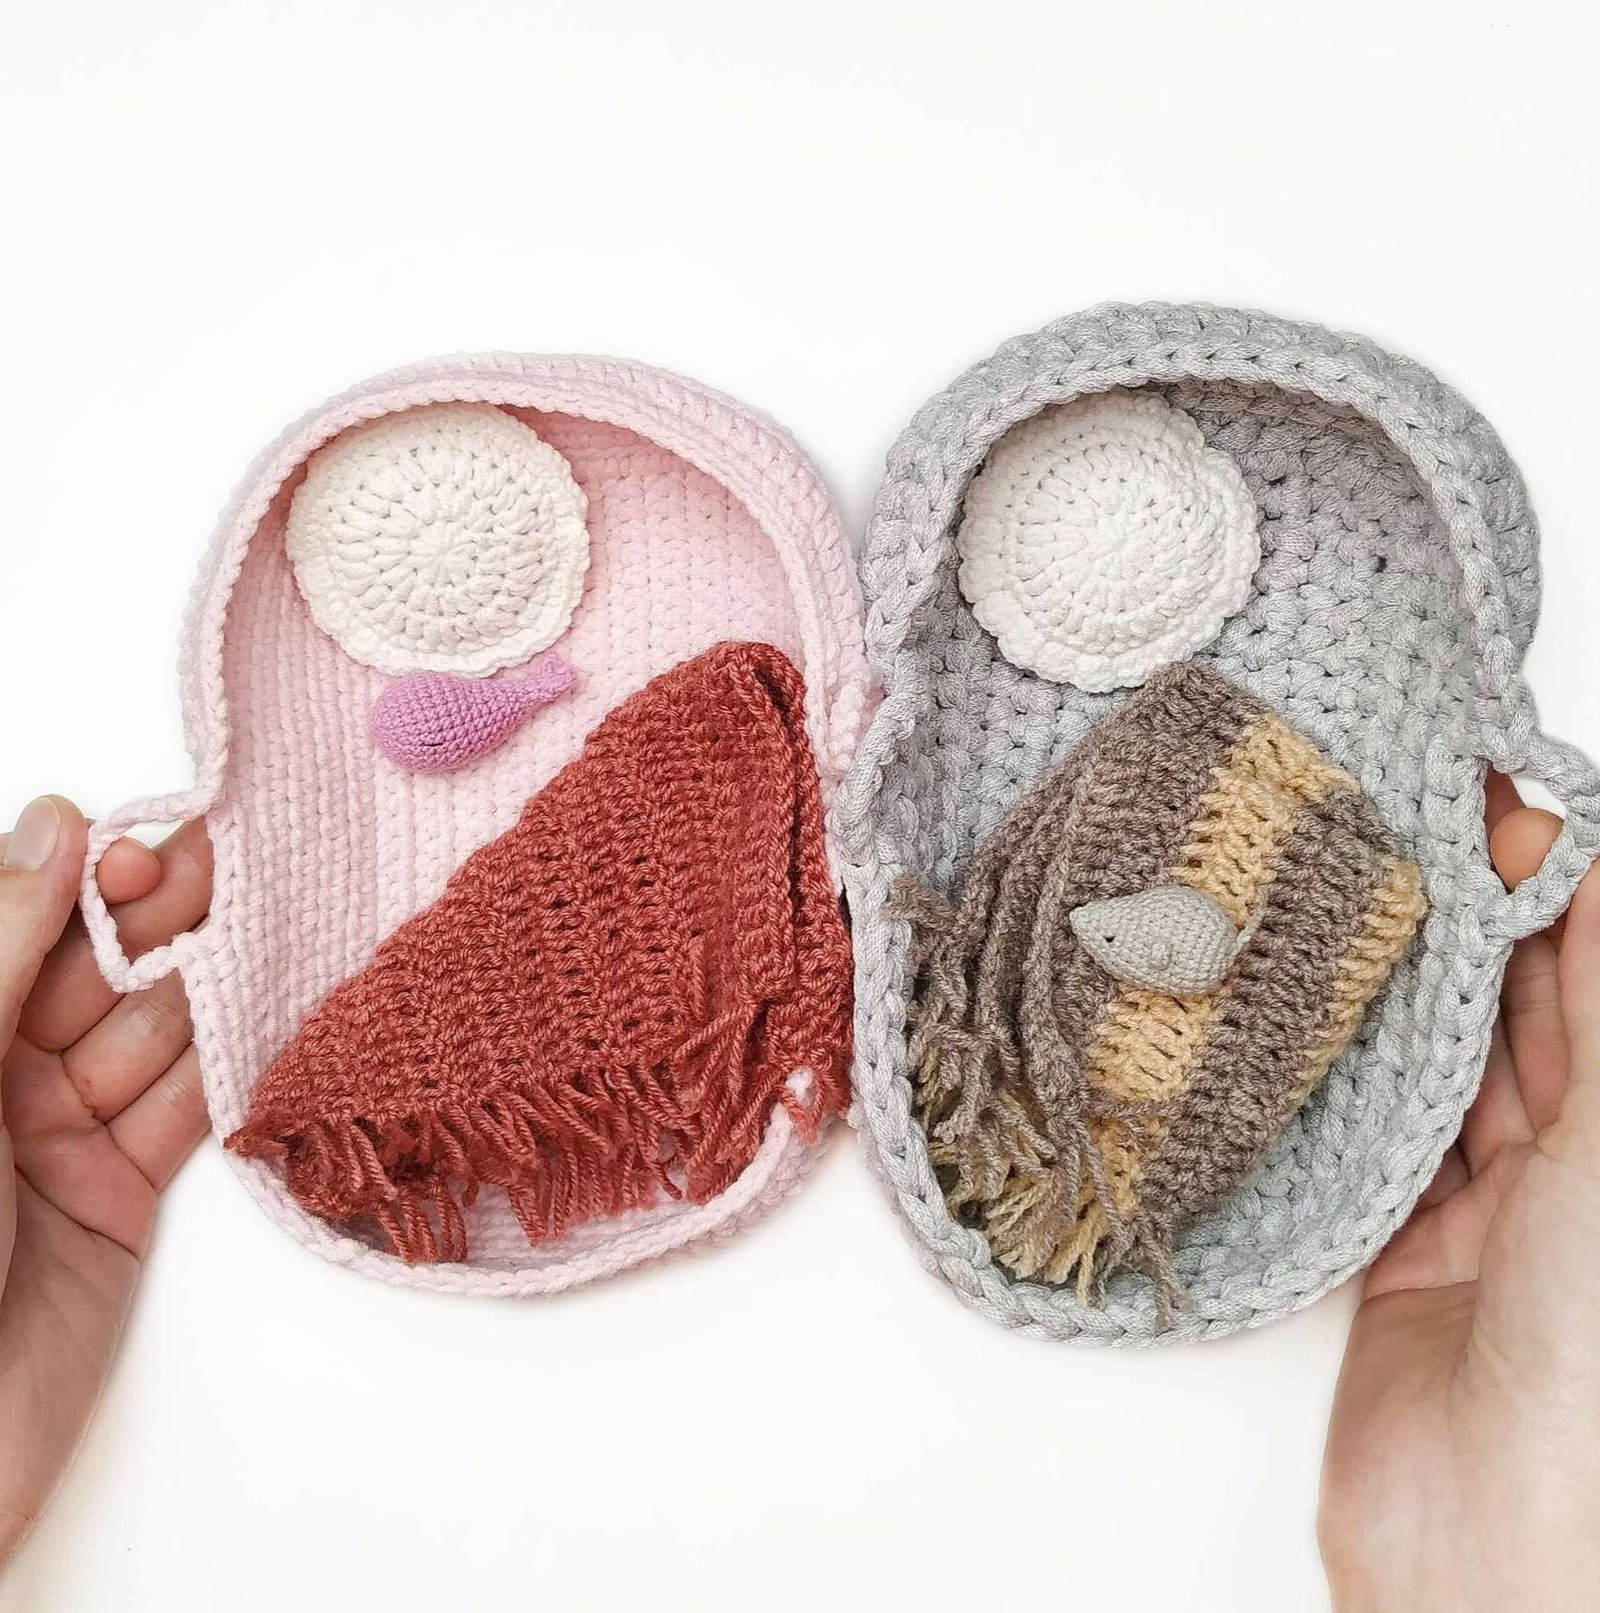
A doll’s cot with a hood, a handle and a blanket, and two tiny animals asleep in it. The bed is crocheted twice in the pattern — once in ribbon yarn on a 5 mm hook, once in cotton on a 2.5 mm hook, bigger — and both are built exactly the same way, which makes this a good pattern to read once and then size up or down as you like.
The construction is simpler than it looks. You crochet a flat rectangle for the base, then work one round around its whole edge with half double crochet, adding a few stitches at each corner so the fabric turns the corner without cupping. From there the sides rise straight up, and the hood is nothing more than three rows worked back and forth across one side, before you rejoin and carry on around. The handle is a chain bridge of eight stitches with three skipped underneath.
Everything is written out below: both beds, the blanket, the pillow, the mouse and the whale.
What you need
- Grey bed: ribbon yarn, 250 g / 125 m, on a 5 mm hook
- Pink bed: cotton, 100 g / 160 m, on a 2.5 mm hook
- Mouse and whale: fine cotton, 100 g / 600 m, on a 1.25 mm hook
- Blanket and pillow: wool blend, 100 g / 390 m, on a 2.5 mm hook
- Notions: holofiber or fibre fill, black sewing thread for the faces, stitch marker
US terms. Work in continuous rounds unless told otherwise, and mark the first stitch of each round.
Abbreviations
ch chain, sc single crochet, hdc half double crochet, dc double crochet, slst slip stitch, inc increase, dec decrease, rep repeat.
The grey bed (5 mm hook)
- R1: ch 21, turn
- R2: sc in each of the next 20 chains, ch 1, turn
- R3–10: sc in each of the next 20 stitches, ch 1, turn — 8 rows
- R11: sc in each of the next 20 stitches, ch 1, turn, then ch 2 and start working around the edge
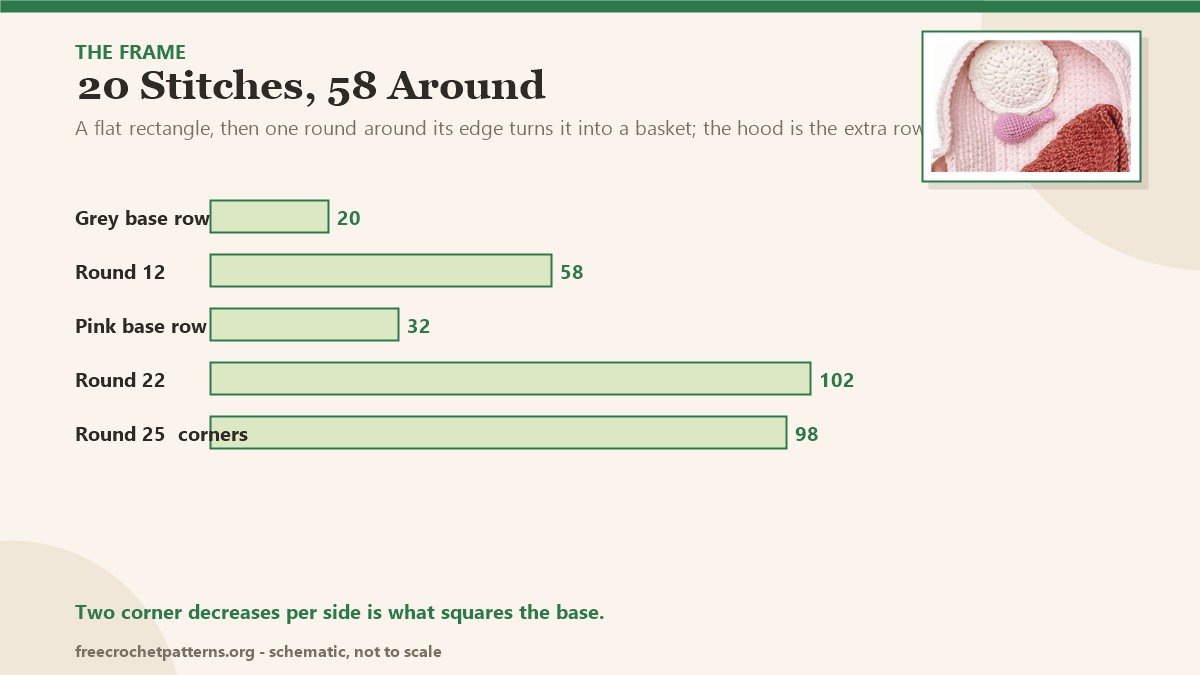
- R12: hdc in each of the next 20 stitches, 9 hdc along the side, 20 hdc, 9 hdc along the other side — 58 hdc; slst in the first hdc, ch 2
- R13: 58 hdc around, slst in the first hdc, ch 2
The hood. Worked back and forth on 36 of the 58 stitches.
- R14: hdc in each of the next 36 stitches, ch 1, turn; sc in the next stitch, hdc in each of the next 21 stitches, ch 1, turn; sc in the next stitch, hdc in each of the next 20 stitches, sc in the next stitch, 2 sc up the side of the hood; then back along the main part: hdc in each of the next 22 stitches, slst in the first hdc, ch 2
- R15: hdc in each of the next 10 stitches, ch 8 (or more for a longer handle), skip 3 stitches, hdc in the next stitch, 2 sc up the side of the hood, sc in each of the next 24 stitches, hdc in the next stitch, ch 8, skip 3 stitches, hdc in each of the next 18 stitches, slst in the first hdc
Cut the thread, fasten off and hide the end.
The pink bed (2.5 mm hook)
Same construction, more stitches.
- R1: ch 33, turn
- R2: sc in each of the next 32 chains, ch 1, turn
- R3–20: sc in each of the next 32 stitches, ch 1, turn — 18 rows
- R21: sc in each of the next 32 stitches, ch 2, turn, then work around
- R22: hdc in each of the next 32 stitches, 19 hdc along the side, 32 hdc, 19 hdc along the other side; slst in the first hdc, ch 2 — 102 stitches
- R23–24: hdc in each of the next 102 stitches, slst in the first hdc, ch 2 — 2 rows
- R25: dec, 28 hdc, dec, 19 hdc, dec, 28 hdc, dec, 19 hdc — 98 stitches; slst in the first hdc, ch 2
The hood.
- R26: hdc in each of the next 63 stitches, ch 1, turn; sc in the next stitch, hdc in each of the next 43 stitches, ch 1, turn; sc in the next stitch, hdc in each of the next 42 stitches, sc in the next stitch, 2 sc up the side of the hood, hdc in each of the next 35 stitches, slst in the first hdc, ch 2
- R27: hdc in each of the next 14 stitches, ch 20, skip 4 stitches, hdc in the next stitch, 2 sc up the side of the hood, sc in each of the next 44 stitches, 2 sc up the other side, hdc in the next stitch, ch 20, skip 4 stitches, hdc in each of the next 30 stitches, slst in the first hdc
Cut the thread, fasten off and hide.
The blanket (2.5 mm hook)
- R1: ch 37, turn
- R2: dc in each of the next 35 chains, ch 2, turn
- R3–18: dc in each of the next 35 stitches, ch 2, turn — 16 rows
Cut the thread, then add a fringe around all four edges. The original turns the canvas vertically and works the fringe down the long sides.
The pillow (2.5 mm hook)
- R1: 10 hdc in a magic ring, slst in the first hdc, ch 2
- R2: 2 hdc in each of the next 10 stitches — 20; slst in the first hdc, ch 2
- R3: (inc, hdc in the next stitch) rep to the end — 30; slst in the first hdc, ch 1
- R4: (sc in each of the next 2 stitches, inc) rep to the end — 40; slst in the first hdc, ch 1
Make a second identical piece and do not cut the thread on it. Hold the two pieces together and join them with (sc in the next stitch, 3 sc in the next stitch) repeated all the way round, stuffing lightly before the last few joins.

The mouse (1.25 mm hook)
- R1: 6 sc in a magic ring
- R2: 2 sc in each stitch (12)
- R3: (inc, sc) ×6 (18)
- R4: (2 sc, inc) ×6 (24)
- R5–9: 24 sc — 5 rows
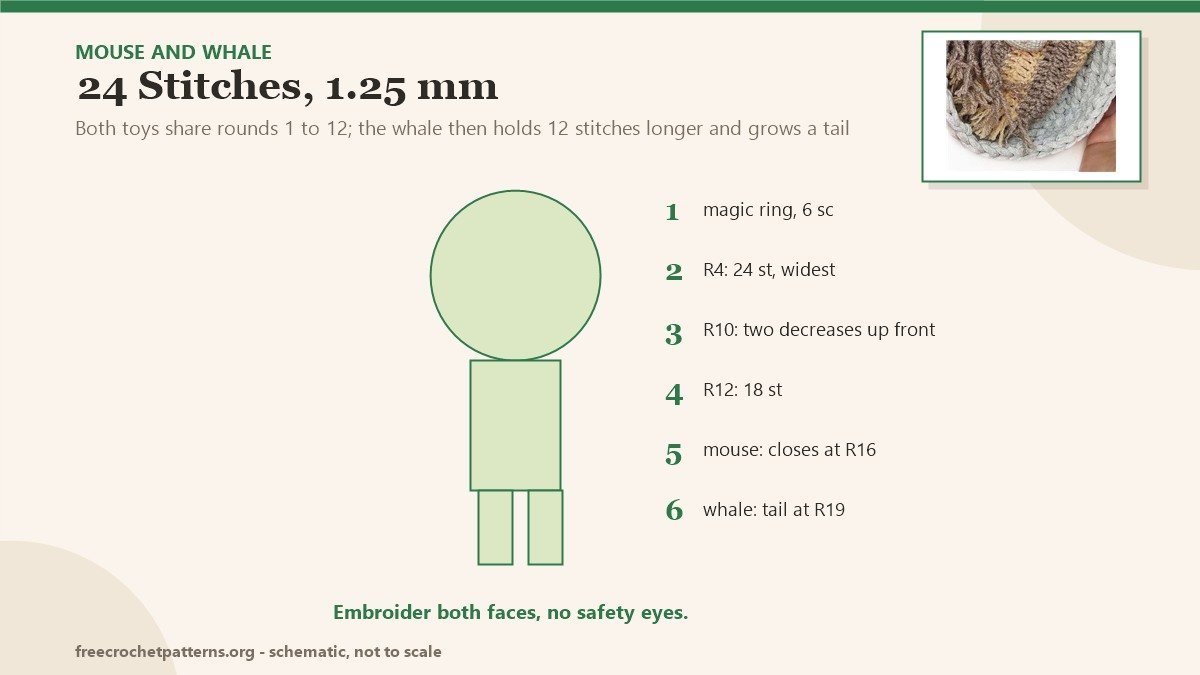
- R10: dec ×2, 18 sc, dec (21)
- R11: (dec, sc) ×2, 12 sc, dec, sc (18)
- R12: 18 sc
- R13: (4 sc, dec) ×3 (15)
- R14: (3 sc, dec) ×3 (12)
Fill with fibre.
- R15: (2 sc, dec) ×3 (9)
- R16: (sc, dec) ×3 (6)
Cut the thread and close the hole.
Ears (make 2): 6 sc in a magic ring, cut leaving a tail, and sew them on both sides at R9 from the start. Tail: attach the yarn between R1 and R2 and ch 6. Embroider the nose in black thread on the last round, then the eyes five rows back, one on each side.
The whale (1.25 mm hook)
- R1: 6 sc in a magic ring
- R2: 2 sc in each stitch (12)
- R3: (inc, sc) ×6 (18)
- R4: (2 sc, inc) ×6 (24)
- R5–9: 24 sc — 5 rows
- R10: dec ×2, 18 sc, dec (21)
- R11: (dec, sc) ×2, 12 sc, dec, sc (18)
- R12: 18 sc
- R13: (4 sc, dec) ×3 (15)
- R14: (3 sc, dec) ×3 (12)
- R15: 12 sc
Fill with fibre.
- R16: (2 sc, dec) ×3 (9)
- R17: 9 sc
- R18: (sc, dec) ×3 (6)
- R19: ch 1, then work the tail through both sides: (hdc, dc, hdc) in the next stitch, sc in the next stitch, (hdc, dc, hdc) in the next stitch, slst
Embroider the eyes on R6–R7 from the start.
Notes
The corner stitches are the whole trick of the bed. When you work R12 on the grey bed you go up one short side, and the 9 hdc along that side are what let the flat base turn 90 degrees into a wall; skip them and the bed curls like a boat.
Ribbon yarn hides stitch definition, which is an advantage here: the sides of the grey bed read as fabric rather than crochet, and small irregularities in the increases disappear. In cotton, as on the pink bed, the same construction shows every stitch, so keep the tension even.
Both beds take the same blanket: 35 stitches wide, 18 rows, which is a little narrower than the pink mattress.
More doll-sized makes: Lily Bunny is the 35 cm doll that fits this bed, Pig in a Granny Square Blanket is the other small set, and Three Little Kittens are the 14 cm ones. Everything is on the patterns page.
Pattern source: Bed, Blanket, Pillow and Toy.