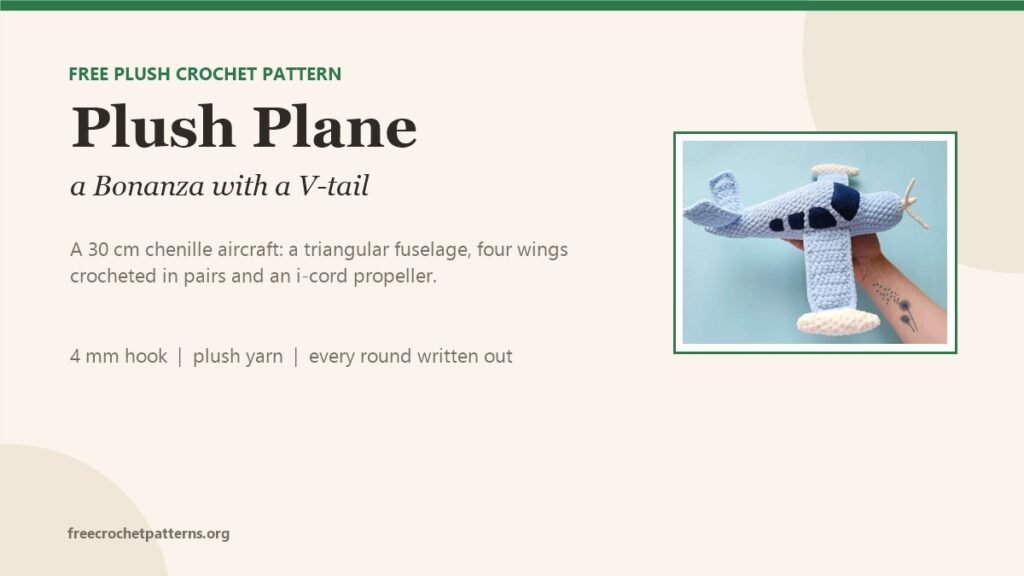
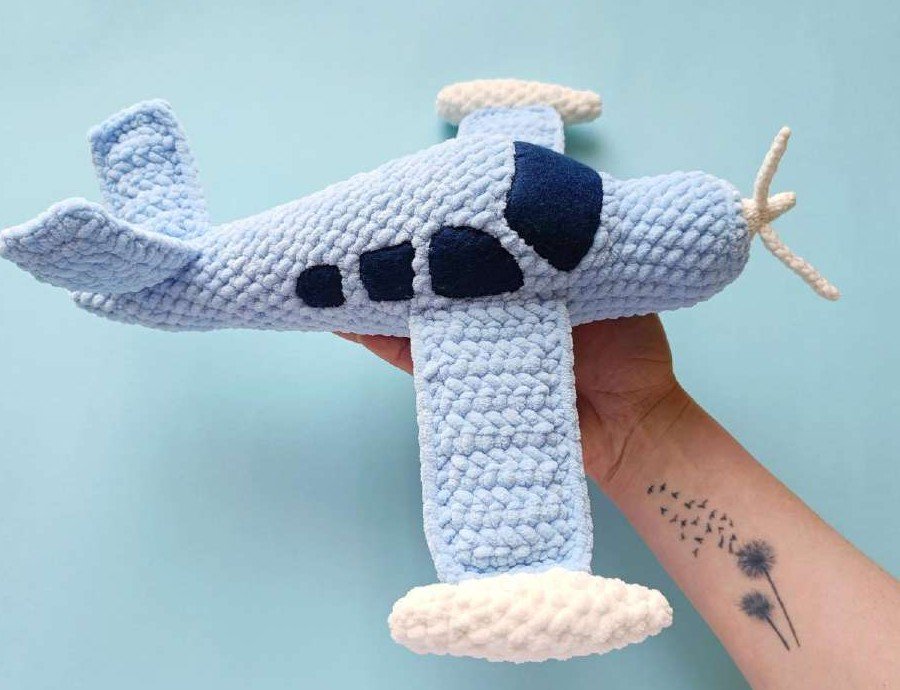
This is a plush Bonanza Beechcraft V-tail, 30 cm from nose to tail and 30 cm across the wings. It is crocheted in weight-6 chenille on a 4 mm hook, and the shape comes from one idea repeated: the fuselage is a triangle, built by working three stitches into one loop at three points, so the body has a ridge on top and a flat belly where the wings sit.
The tail and the wings are flat panels, each crocheted four times and then joined in pairs by crocheting around three sides. Working two panels face to face gives a stiff part that holds its shape without any plastic insert — which is what you want on a toy that will be thrown across a room.
Every round is written out below.
What you need
- Yarn: one skein of plush yarn (100 g / 120 m) in blue, a little milk colour, plus thin strong cotton in both colours for sewing and the propeller
- Hook: 4 mm for the plush, 1.5 mm for the propeller holder
- Notions: hollofiber, felt in blue or black for the windows, black sewing thread or glue, markers, pins, needle
Abbreviations
MR magic ring, sc single crochet, hdc half double crochet, slst slip stitch, inc increase, dec invisible decrease.
Fuselage
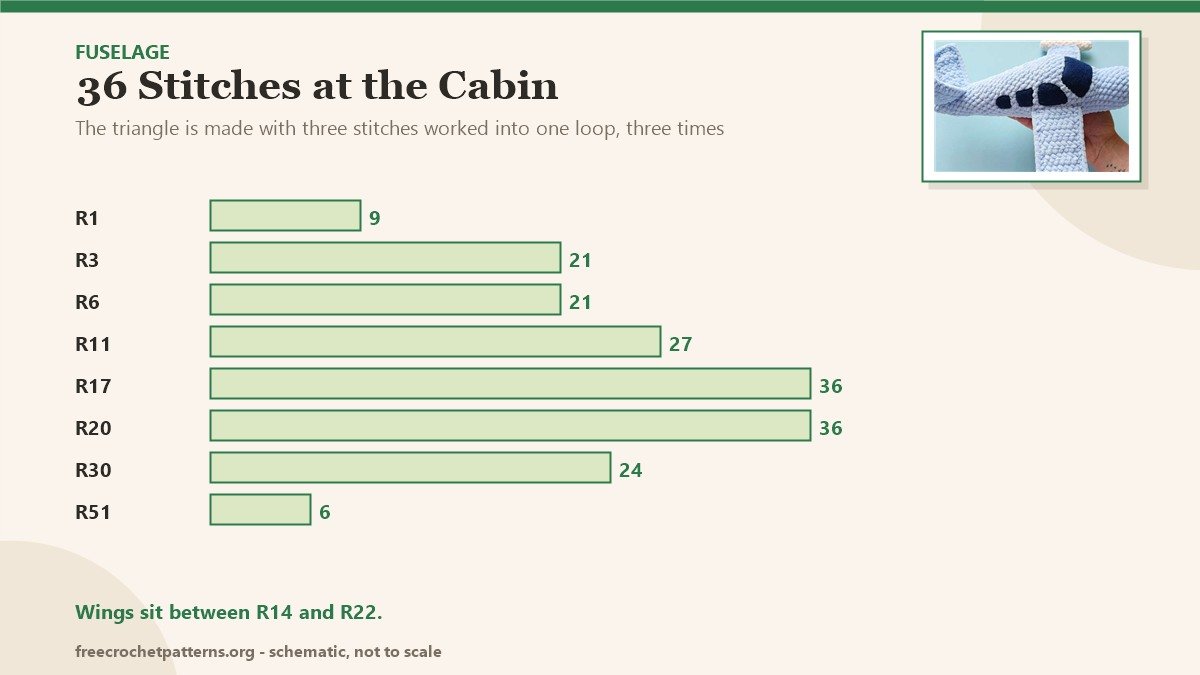
Blue plush. The first rounds build the triangular cross-section: three stitches in one loop, three times.
- R1: 9 sc in MR (9)
- R2: (2 sc, 3 sc in one loop) x3 (15)
- R3: (4 sc, 3 sc in one loop) x3 (21)
- R4: 21 sc in the back loops only (21)
- R5–10: 21 sc — 6 rounds
- R11: 7 sc, 6 inc, 8 sc (27) — the increases go dead centre of the triangle
- R12–13: 27 sc — 2 rounds
- R14: 11 sc, inc, 2 sc, inc, 2 sc, inc, 9 sc (30)
- R15–16: 30 sc — 2 rounds
- R17: (4 sc, inc) x6 (36)
- R18–20: 36 sc — 3 rounds
- R21: (10 sc, dec) x3 (33)
- R22: 33 sc (33)
- R23: (9 sc, dec) x3 (30)
- R24–25: 30 sc — 2 rounds
- R26: (8 sc, dec) x3 (27)
- R27–28: 27 sc — 2 rounds
- R29: (7 sc, dec) x3 (24)
- R30–31: 24 sc — 2 rounds
- R32: (6 sc, dec) x3 (21)
- R33–34: 21 sc (21)
- R35: 19 sc, dec (20)
- R36: 9 sc, dec, 9 sc (19)
- R37: 17 sc, dec (18)
- R38: 8 sc, dec, 8 sc (17)
- R39: 17 sc (17)
- R40: 15 sc, dec (16)
- R41: 16 sc (16)
- R42: 14 sc, dec (15)
- R43: 6 sc, dec, 7 sc (14)
- R44: 12 sc, dec (13)
- R45: 5 sc, dec, 6 sc (12)
- R46: 10 sc, dec (11)
- R47: 4 sc, dec, 5 sc (10)
- R48: 8 sc, dec (9)
- R49: 7 sc, dec (8)
- R50: 6 sc, dec (7)
- R51: 5 sc, dec, slst (6)
Fill as you go, firmly at the nose and more lightly towards the tail, then close the hole.
Tail: two V panels
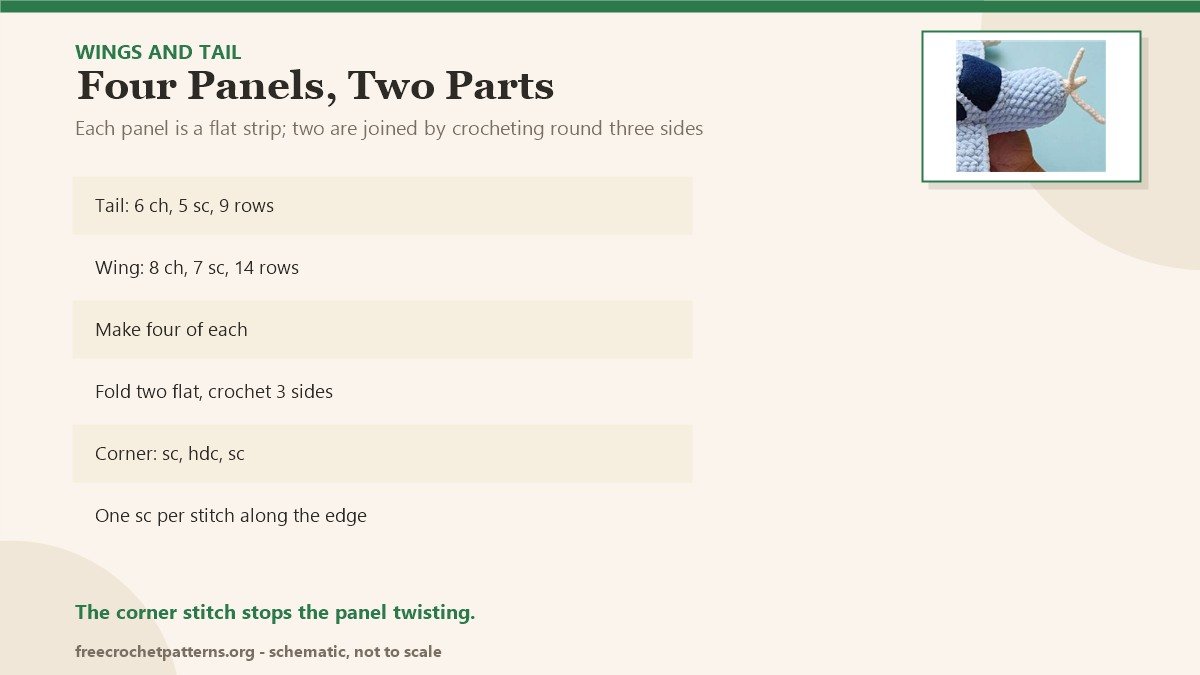
Crochet four identical flat pieces, then join them in pairs. Worked in turning rows, each row starting with one chain.
- Foundation: 6 ch
- R1: 5 sc from the second chain (5)
- R2–9: turn, ch 1, 5 sc (5)
Fasten off the first piece. On its pair, leave the yarn attached, fold the two flat pieces together and crochet around three sides: 1 sc in every stitch, and in each corner (sc, hdc, sc) so the corner stays sharp. Fasten off. Make the second panel the same way.
Wings
Same construction, four pieces, paired.
- Foundation: 8 ch
- R1: 7 sc from the second chain (7)
- R2–14: turn, ch 1, 7 sc (7)
Join in pairs exactly like the tail: fold, crochet three sides, corner (sc, hdc, sc).
Engines (make 2)
Milk colour.
- R1: 5 sc in MR (5)
- R2: 2 sc, inc, 2 sc (6)
- R3: inc, 5 sc (7)
- R4: 3 sc, inc, 3 sc (8)
- R5: 7 sc, inc (9)
- R6: 4 sc, inc, 4 sc (10)
- R7–10: 10 sc — 4 rounds
- R11: 8 sc, dec (9)
- R12: 7 sc, dec (8)
- R13: 6 sc, dec (7)
- R14: 5 sc, dec (6)
- R15: 4 sc, dec (5), slst
Propeller holder and blades
- Holder: 5 sc in MR, 4 sc + inc (6), 5 sc + inc (7), 6 sc + inc (8), (3 sc, inc) x2 (10), (4 sc, inc) x2 (12), (5 sc, inc) x2 (14), slst
- Blade (3): an i-cord of 9 single crochet, made by chaining into the middle of a doubled 60 cm thread and working each stitch with a yarn over from the standing thread
Thread the three blade ends through the holder, tie them in pairs on the inside and use the short tails as filling.
Windows
One central window, side windows in pairs. Cut paper templates first, then cut the felt: a long oval for the cockpit, three or four smaller ones each side.
Assembly
- Find the centre of the fuselage: the middle between the increases of R11, then follow that line.
- Place the wings between R14 and R22, 9 stitches either side of the centre, so 18 stitches apart. Pin, then sew with thin blue cotton.
- Sew the engines at the wing tips the same way, in milk cotton.
- Place the two tail panels 4–5 rows from the end, angled into a V, touching in the middle. Sew around the perimeter.
- Sew the propeller at the centre of the nose, between R2 and R3.
- Space the windows evenly from the cockpit window, which sits above R11. Sew them with black thread, or glue if the plane is decorative.
Notes
Sew every part twice, bringing all the plush and cotton tails to one point and knotting them together inside the toy: a single sewn seam on chenille pulls through with use. The corner stitch (sc, hdc, sc) is what keeps the wings from twisting — without it the panels curl and the plane looks limp.
More plush makes: Layla the Llama is the other weight-6 project, Christmas Bear is the winter one, and Castor the Magician Cat is the 26 cm cat. Everything is on the patterns page.
Pattern source: Plush Bonanza Beechcraft V-tail, crochet PDF pattern.
The mushroom set is here: Amanita Mushroom House, a cardboard-lined house with a 12 cm doll.
For a big soft make, Lily Bunny joins the legs at the hips with a chain bridge instead of sewing them.
2 comments